• Skip to primary navigation
  • Skip to main content
  • Skip to primary sidebar

Make Healthier Choices

Helping people Make Healthier Choices about real-food choices for optimal heath.

SEARCH

  • Home
  • Welcome
  • Free Body Scan
  • My Metabolic Meals
    • My Favorite Metabolic Meals
  • Recipes
    • Beverages
      • Audrey’s Pine Needle Tea
    • Bread
    • Candy
    • Desserts
    • DIY Recipes
      • DIY – Body
      • DIY – Household
      • DIY – Pets
      • Essential OIls
    • Fermented Foods
    • Free Recipes
    • Fruits
    • Main Dishes
      • Katherine’s White Chicken Chili
    • Meats
    • Pet Recipes
    • Salads
    • Sauces
    • Side Dishes
    • Snacks
    • Soup
      • Thai Soup – Immune-Building Soup
    • Spices
    • Vegetables
  • Recipes by Category
    • Gluten-Free
  • Blog
    • Articles
    • Ingredients & Substitutions
    • Reviews
  • About
    • Affiliate Disclosure
    • Contact me
    • Disclaimer
    • How I Overcame Sickness
  • The FUN Stuff
    • Sweepstakes
    • Take a Quiz
    • Free e-Books
  • Save on My Favorite Products
  • V Info

Recipes

Gluten-Free Green Bean Casserole

November 20, 2015 By Recipe Renegade 2 Comments

Share

This is a great, healthy replacement for traditional green bean casserole that contains unknown or scary ingredients like monosodium glutamate (MSG). AND it’s not only gluten free, it’s delicious! The instructions look long, but it’s easy to make. (Scroll down for do-ahead tip and substitutions if you aren’t worried about gluten-free.) As always, if making the gluten-free version, make certain all ingredients are, in fact, gluten free.

This recipe cooks up fast – your sauce should be finished before onion rings are done baking. Be sure to gather your ingredients before starting. Scroll down for video.

Gluten-free Green Bean Casserole Recipe Renegade


Gluten-Free Green Bean Casserole
 
Save Print
Delicious, healthy, green bean casserole! Even your family won't know it's gluten-free!!!
Author: Recipe Renegade
Ingredients
  • FOR THE TOPPING:
  • 2 medium Onions, sliced
  • ¼ to ½ Cup Pamela's Baking and Pancake Mix
  • 1 Teaspoon Himalayan or Celtic Salt
  • 1 Small Egg
  • 3 Tablespoons Water
  • FOR THE PAN:
  • 2 Teaspoons Coconut Oil
  • FOR THE CREAM OF MUSHROOM SOUP:
  • 1 pound frozen or fresh, French-style Green Beans
  • 2 tablespoons Butter
  • 12 ounces fresh Mushrooms
  • ½ teaspoon freshly ground Black Pepper
  • 1 teaspoon Himalayan or Celtic Salt
  • ½ teaspoon Onion Powder
  • 2 minced Garlic Cloves (about 1 ½ teaspoon)
  • 1 cup Chicken Broth (bone broth)
  • ½ cup Milk
  • ½ cup Light Cream
  • ¼ cup Arrowroot Powder
Instructions
  1. MAKE THE ONION RINGS:
  2. Preheat the oven to: 475° F.
  3. Gather ingredients.
  4. Remove green beans from freezer. Place in strainer and rinse with cold water for a few minutes. Set aside to drain and continue thawing.
  5. Coat a sheet pan with coconut oil.
  6. Mix Pamela's Baking and Pancake Mix and Himalayan Salt in a large mixing bowl.
  7. In another bowl, scramble egg with water.
  8. Toss sliced onion rings in egg/water mixture.
  9. Toss onions in bowl with Pamela’s Baking and Pancake Mix and Himalayan Salt to coat.
  10. Spread onions onto jelly pan.
  11. Bake at 475° F for 30 to 35 minutes, flipping every 10 minutes. Onions should be slightly brown when done.
  12. Change oven temperature to 400° F when onions are finished. (Or shut off oven if making casserole for the next day - see "DO-AHEAD TIP below.")
  13. WHILE ONIONS ARE BAKING, MAKE CREAM OF MUSHROOM SOUP:
  14. Chop mushrooms into tiny pieces.
  15. Over medium heat in a 12-inch *skillet, add butter, mushrooms, salt, pepper, and onion powder.
  16. Cook over medium heat for about 5 minutes or until mushrooms start to turn slightly brown.
  17. Add fresh garlic and cook for additional minute.
  18. Add chicken broth, milk and cream.
  19. Sprinkle arrowroot powder on top using a metal strainer and quickly stir in. (Mixture will thicken quite fast and you don't want it to lump.)
  20. Remove from heat and stir in ¼ of the baked onions and all of the green beans.
  21. Top with the remaining onions.
  22. Bake at 400° for 15 minutes or until bubbly. Serve immediately.
Notes
*If using cast-iron skillet for cooking mushroom sauce, casserole can be baked in the same skillet.

DO-AHEAD TIP: Once cooled (about 20 to 30 minutes), refrigerate. Cook at 350° F for 30 minutes.
3.3.3077

Do-ahead Tip: Make casserole the day before and once cooled, refrigerate. When ready to eat, bake at 350° for 30 minutes or until bubbly.

Substitutions: FOR CASSEROLE THAT IS NOT GLUTEN-FREE – 2 tablespoons all-purpose flour can be substituted for the arrowroot powder in the soup and 1/4 to 1/2 cup all-purpose flour can be substituted for the Pamela’s Baking and Pancake Mix for the onion rings. (Honestly, I think the onion rings are crispier and taste MUCH better using the Pamela’s Baking and Pancake Mix.)

Whole milk can be substituted for the milk and cream.

Share

Filed Under: Gluten-Free, Recipes, Side Dishes

Kombucha Misinformation

November 5, 2015 By Recipe Renegade 2 Comments

Share

Sometimes it’s hard to differentiate between fact and fiction on the Internet. Especially when it comes to Kombucha. Kombucha myths are easy to find.

“I don’t drink Kombucha because of the sugar.”

A properly fermented, home-made Kombucha will have little to no sugar. I don’t like to ferment mine so long that there’s no sugar left. At some point I’ll purchase a test kit to know how much sugar is in my kombucha. Be careful of commercial brands that add sugar after fermenting. If you can’t stand the taste of no-sugar-added Kombucha, it’s not a bad idea to start out with one with sugar added to get used to drinking it. You can always graduate slowly to one without the sugar. Not everyone will want to drink something as tart as Kombucha. 

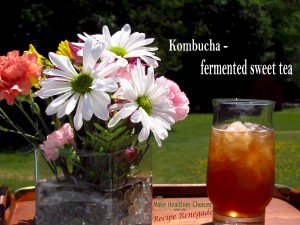
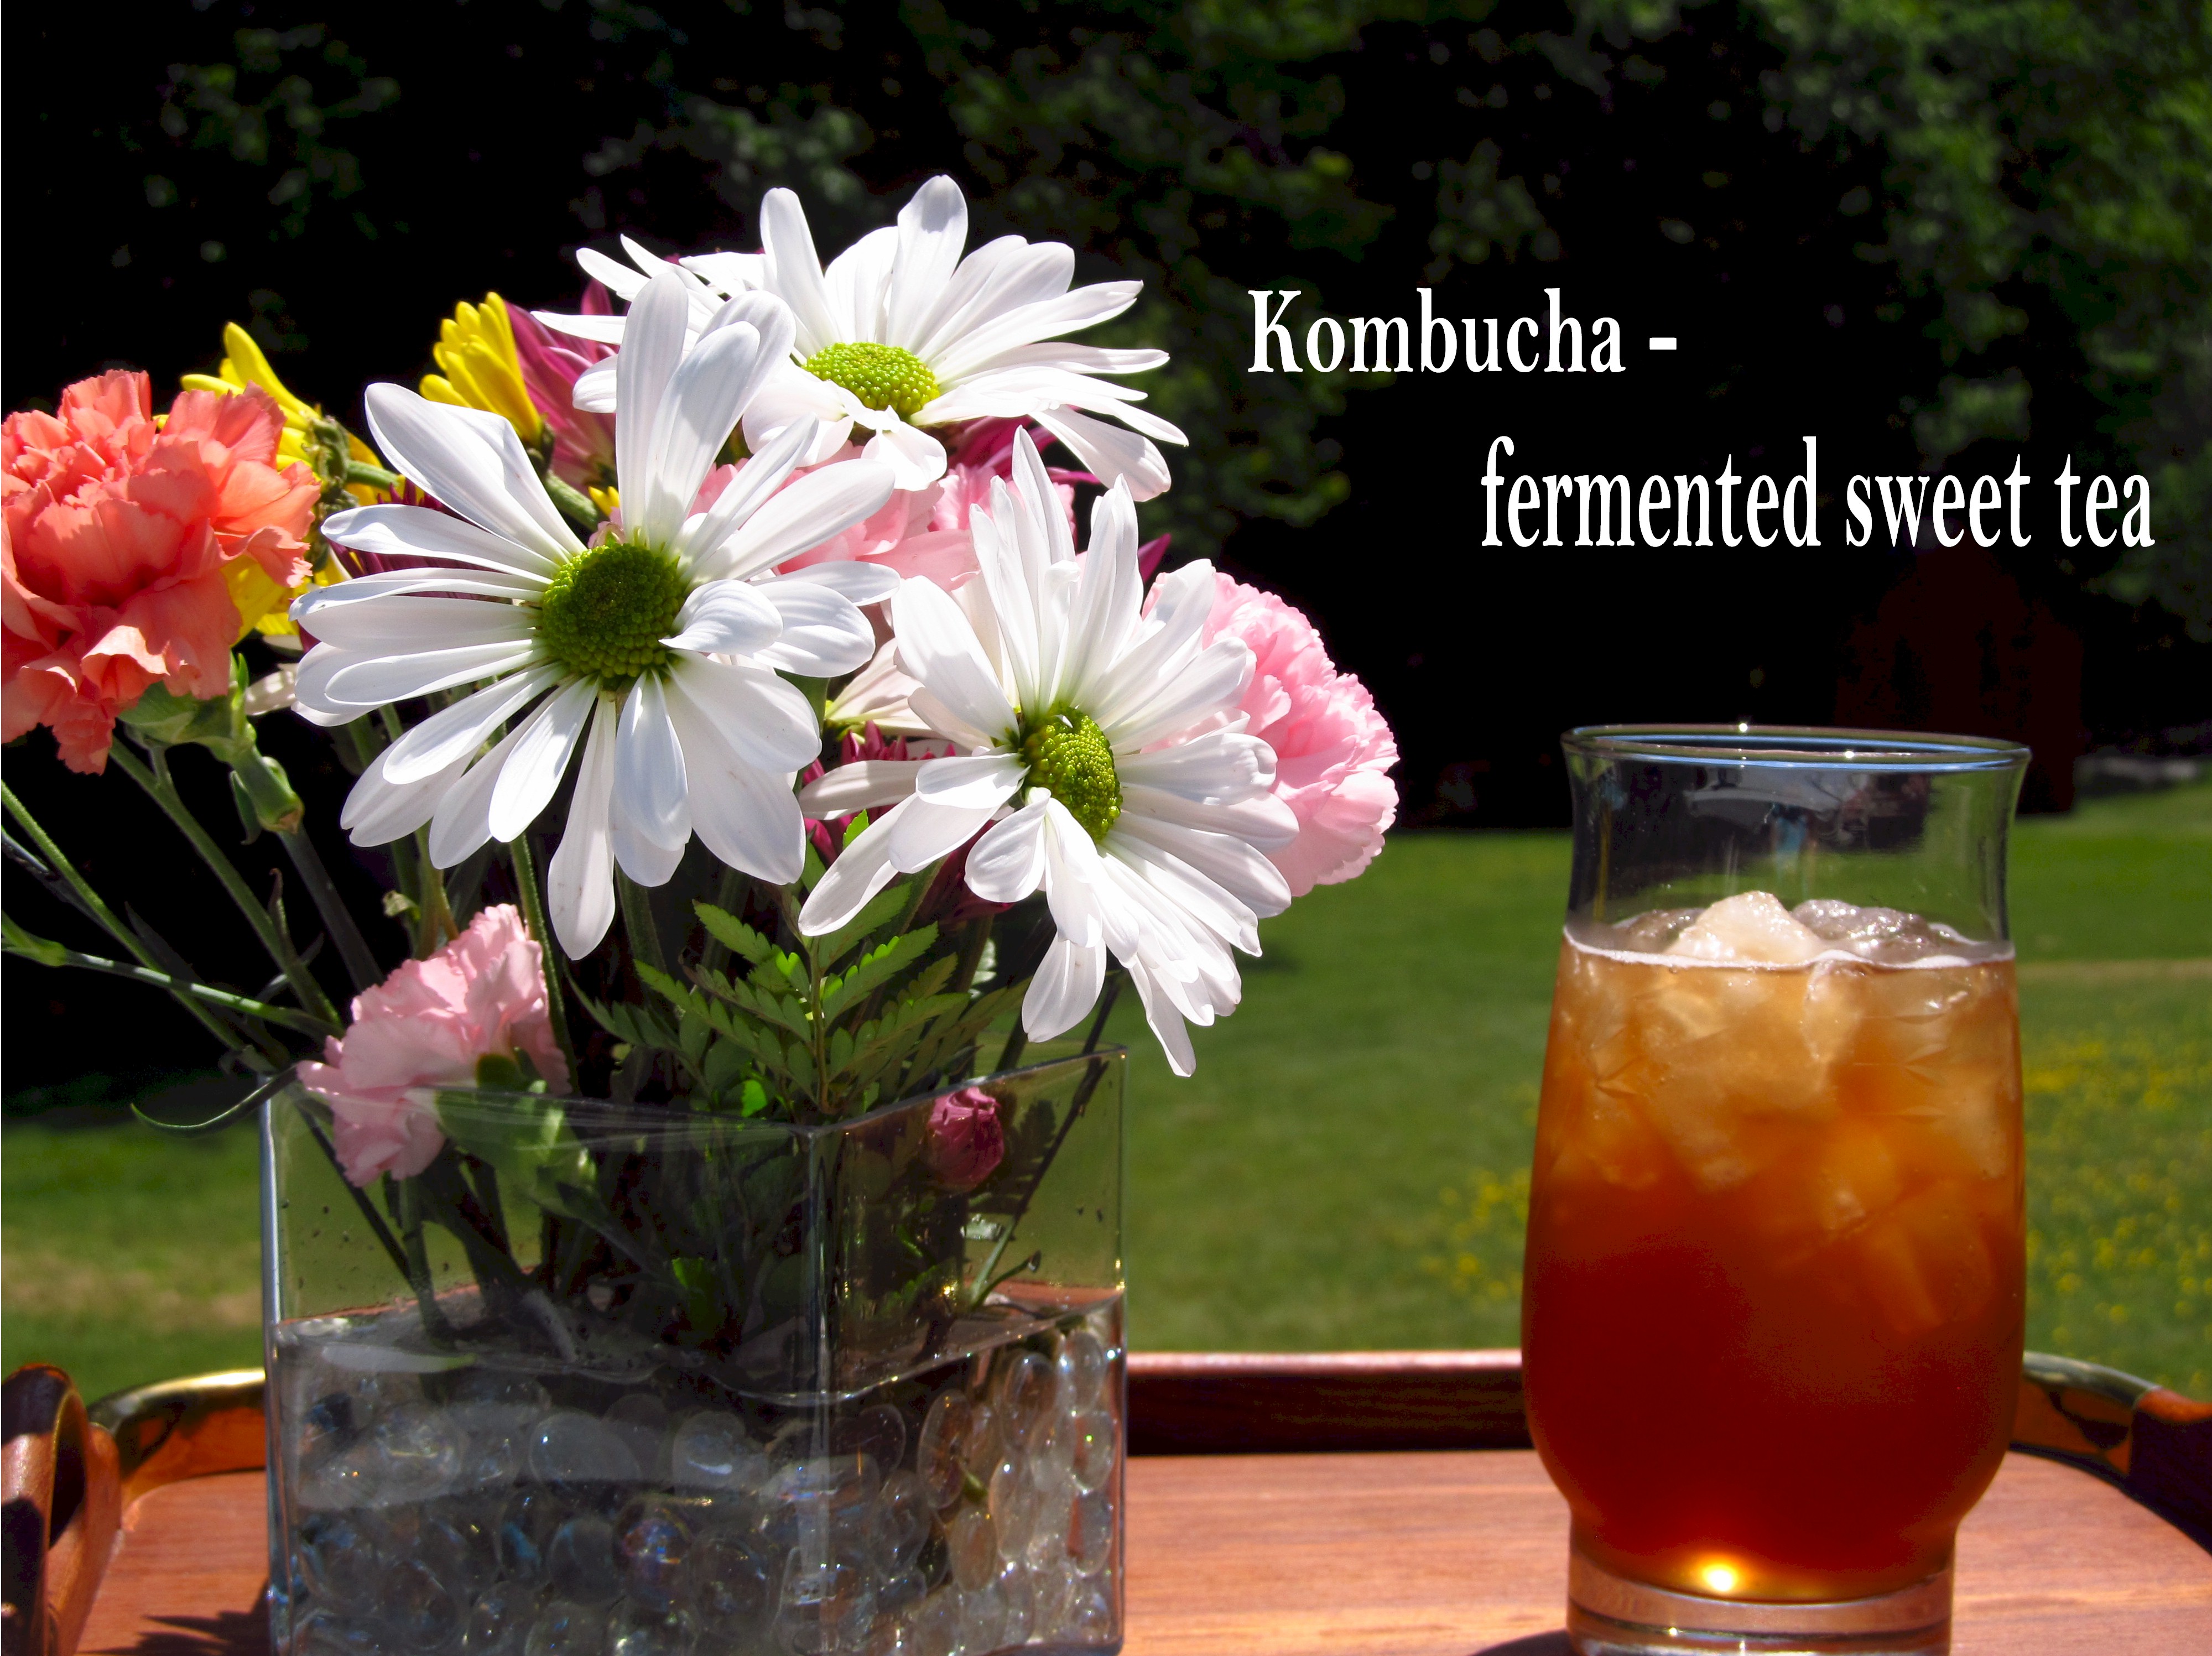
Glass of Kombucha Flowers with words Recipe Renegade

“There are no probiotics in Kombucha.”

Probiotics are live organisms, such as yeasts and bacteria, that promote life. “Pro” means “for” and “biotic” means “life,” so probiotic means “for life.” Kombucha can’t be made without a SCOBY, which stands for Symbiotic Colony of Bacteria and Yeast. A SCOBY is also known as a “mother,” “mushroom,” or “pancake.” To see if your store-bought Kombucha contains live cultures, try to grow your own SCOBY by putting some in a glass and leaving it on your counter for a week or so. You’ll see a film start to grow if it is alive.  Populating our guts with good yeasts and good bacteria promotes life.

A consensus definition of the term “probiotics,” based on the available information and scientific evidence, was adopted after a joint Food and Agricultural Organization of the United Nations and World Health Organization expert consultation. In October 2001, this expert consultation defined probiotics as: “live micro-organisms which, when administered in adequate amounts, confer a health benefit on the host.”

 “Kombucha isn’t good for us because tea contains lots of fluoride, so Kombucha has lots of fluoride in it”

Use organic tea and clean, un-fluoridated water to reduce fluoride. A small amount of naturally-occurring fluoride from the tea shouldn’t be an issue. There’s a big difference between a small amount of naturally-occurring fluoride and large amounts of man-made fluoride. Man-made fluoride is a byproduct of the fertilizer and aluminum industries.
It’s essential to always use clean water that does not contain fluoride, chlorine, or any other toxins, when making our own kombucha. Common sense tells us that we really shouldn’t be fermenting toxins.

Cultures for Health is one of my favorite places to buy fermenting supplies. You can find them HERE. Check out their article that puts some Kombucha myths to rest: Busting Kombucha Myths.
Share

Filed Under: Articles, Beverages, Blog, Fermented Foods, Recipes Tagged With: does kombucha have sugar? does kombucha have probiotics? what are probiotics, kombucha

How to Correctly Cook Quinoa

October 28, 2015 By Recipe Renegade 3 Comments

Share

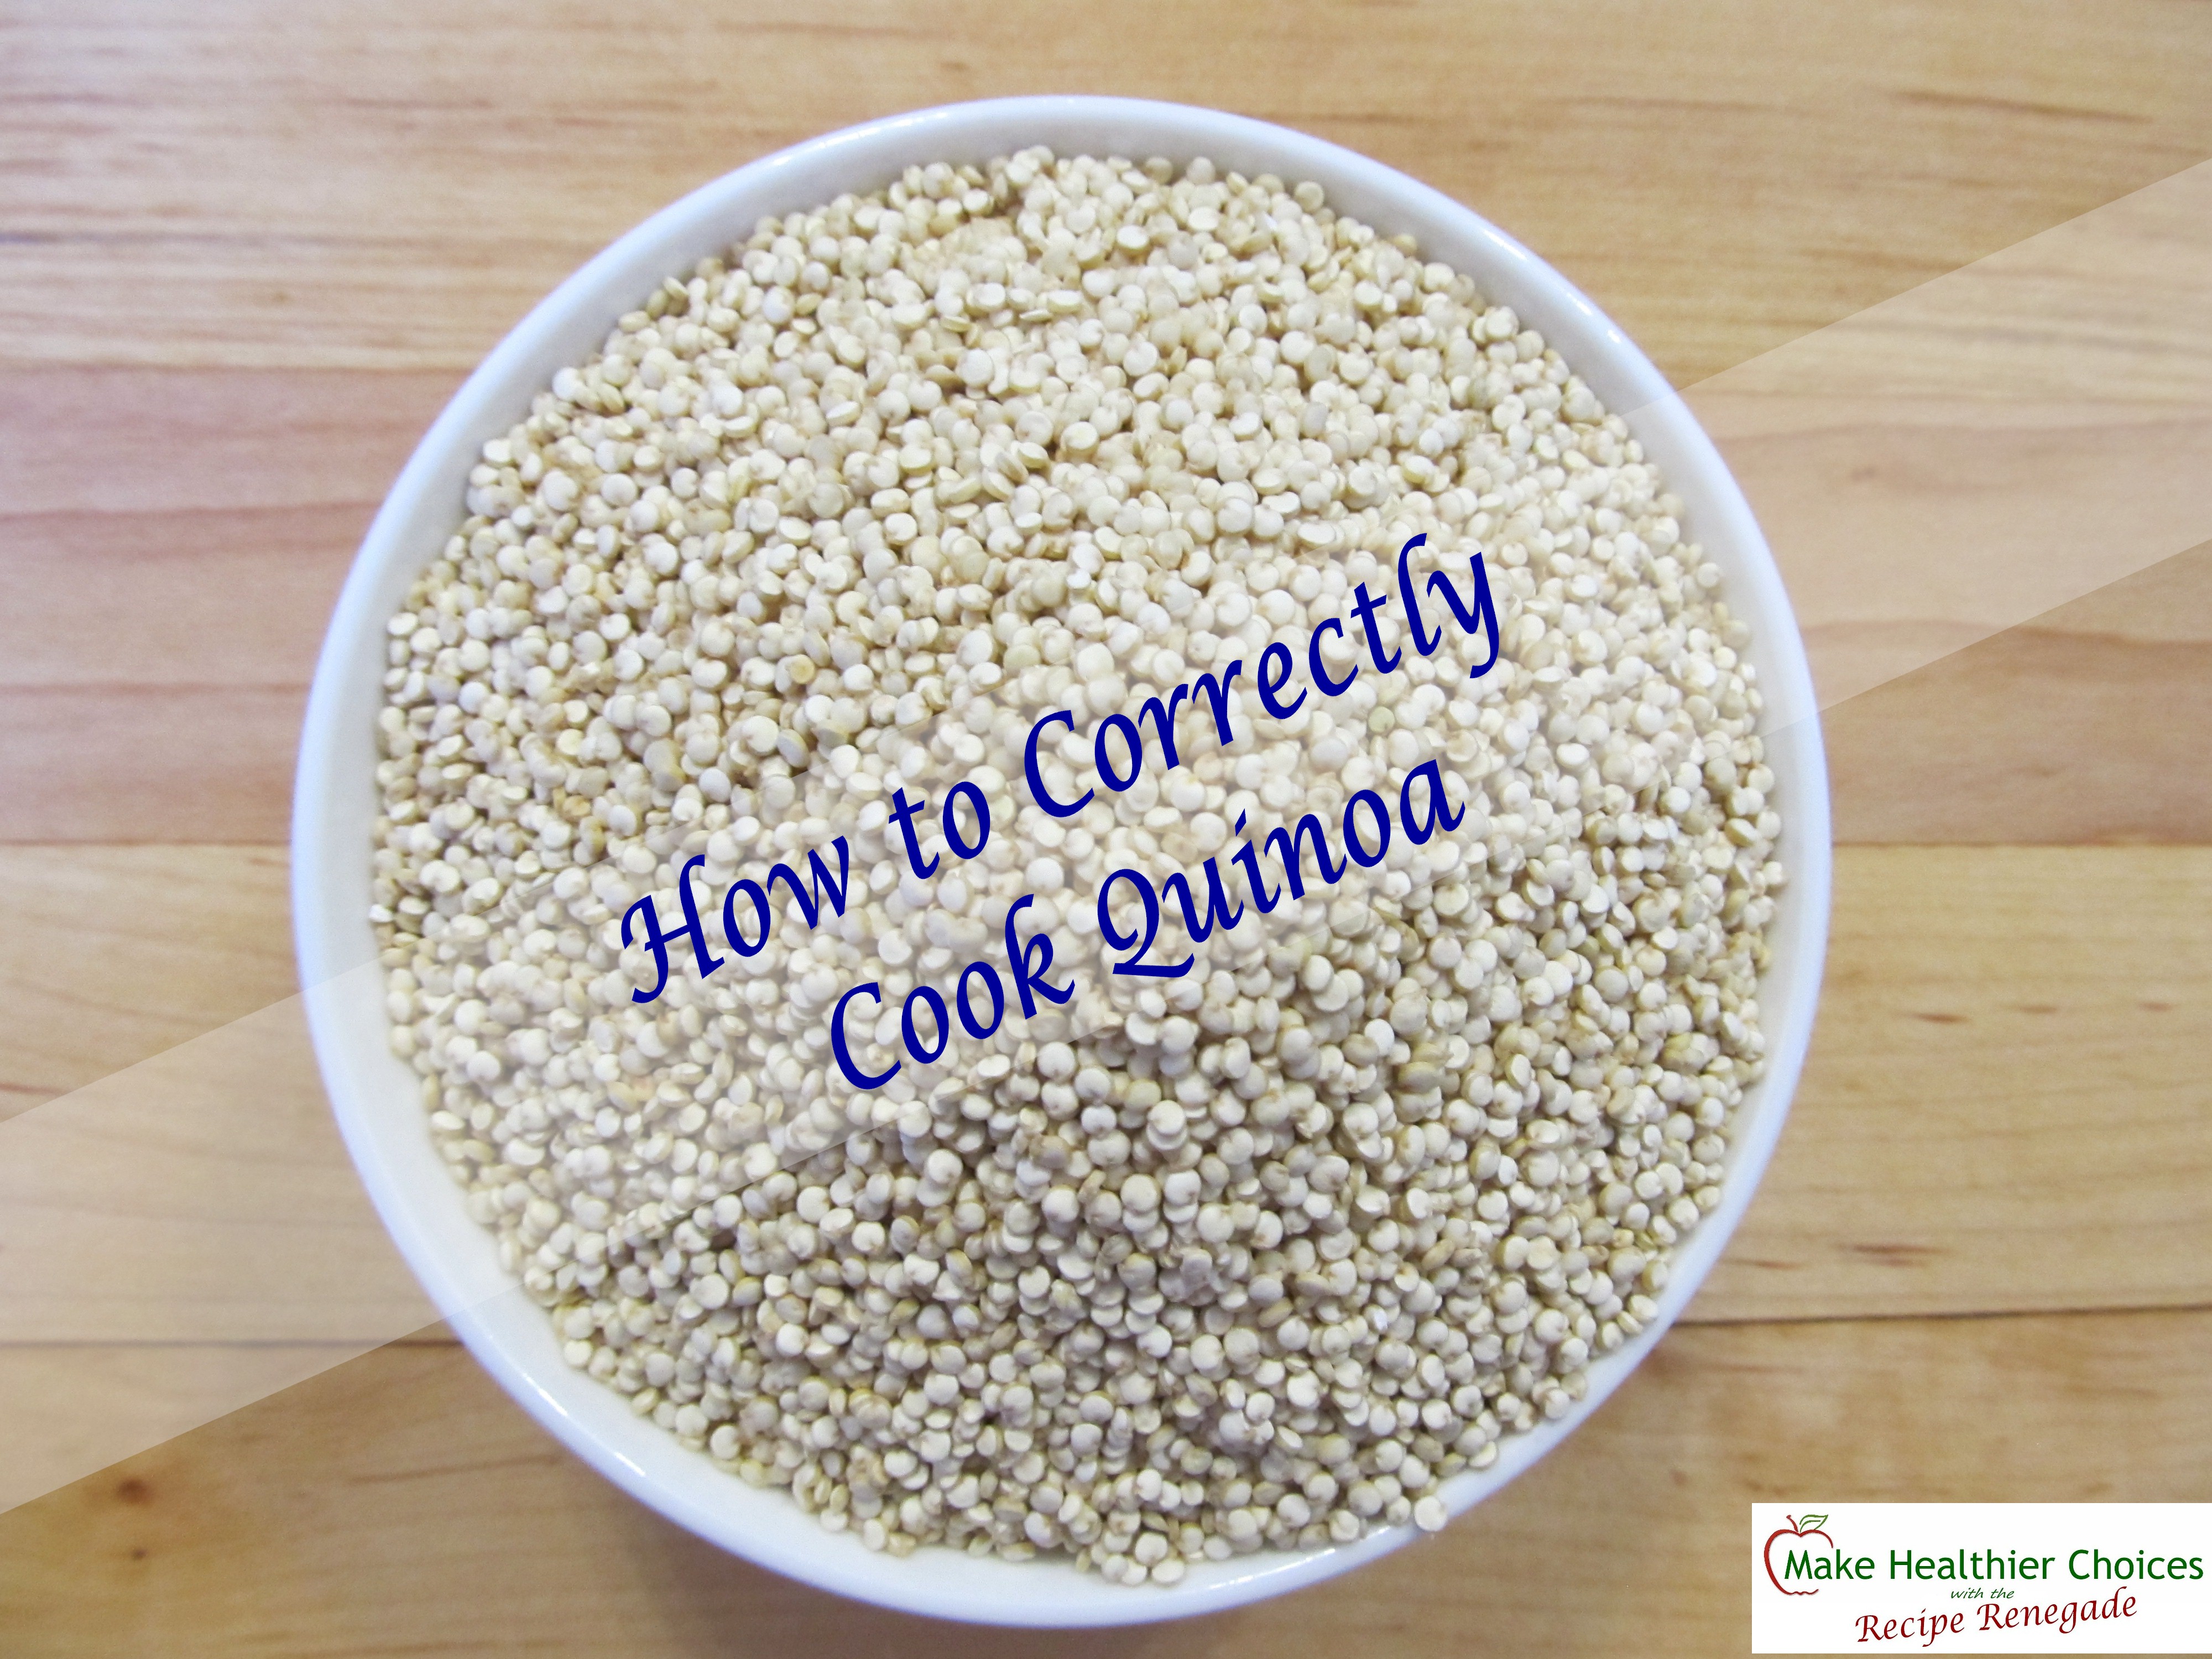
Quinoa Recipe Renegade

If you found this page by searching, “How to Cook Quinoa,” you might already know that it’s a nutritious seed often mistakenly referred to as a ‘grain.’ (We wouldn’t say a sunflower seed is a flower, right?) Quinoa is high in protein and its nutritional profile is similar to a grain.

Rinse and Soak

If you don’t want to complain about the taste of quinoa, you’ll want to rinse and soak it before cooking to remove both phytic acid and bitterness. Phytic acid, known as an anti-nutrient, interferes with absorption of some important nutrients. At the same time, it might also be a good chelator for unwanted minerals. (I think the jury is still out on whether or not there is a health benefit to phytic acid.)

I usually rinse, then soak for anywhere from six to twelve hours. Never let it go more than eight hours without rinsing and I always rinse again before cooking. If there’s no time to soak it before cooking, be sure to rinse several times. Mason jars with sprouting caps work great for both soaking and rinsing. Quinoa cooks much quicker, after it’s been soaked.

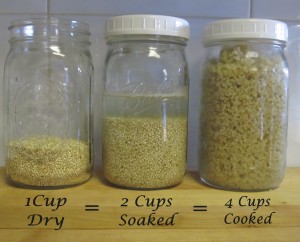
We purchase food by weight, but we measure it by volume when we cook. A 12-ounce bag of quinoa seeds measures about 2 cups. Scroll down to see the picture of how one cup grows in size. You can see how it goes a long way.

This seed is a powerhouse of nutrients, including protein. It can easily replace brown rice in many recipes and is  You can see the complete nutrient profile here: USDA Nutrient Database.

If you’re not sure if this seed would be too high-carb for you, the information in this article by Dr. William Davis, author of Wheat belly, might help. Can I eat quinoa? Carb-Counting Basics


How to Cook Quinoa
 
Save Print
1 cup dry quinoa seeds makes 4 cups cooked quinoa.
Author: Recipe Renegade
Ingredients
  • 1 Cup Quinoa Seeds
  • 2 Cups Water
  • Water for rinsing
Instructions
  1. Place Quinoa Seeds in a one-quart Mason jar
  2. Secure strainer cover onto top of Mason jar.
  3. Rinse seeds.
  4. Add 2 cups water to Mason jar.
  5. Soak for 8 to 12 hours (Rinse at 8 hours).
  6. Rinse again (before cooking) to remove phytic acid/bitterness.
  7. Remove water.

    TO COOK:
  8. Place seeds in pot on stove.
  9. Add enough water to cover seeds plus about ½ inch.
  10. Cover pot.
  11. Bring to boil.
  12. Simmer for approximately 10 minutes checking water level.
  13. If quinoa is not cooked after 10 minutes, remove from burner and keep covered for 5 minutes.
    (Quinoa is done when rings are visible.)
Notes
A mesh strainer can be used if you don't have a strainer cover for your Mason jar. Be sure to use a strainer with extremely small holes. If the strainer holes are not small enough, the seeds will slip right through. Do NOT use a colander.
3.5.3226

This is a great strainer set. It can be used for not only quinoa, but also for kefir grains and Kombucha.

One cup dry quinoa seeds equals 4 cups cooked.
One cup dry equals 4 cups cooked.


Share

Filed Under: Blog, Gluten-Free, Recipes, Side Dishes Tagged With: always soak quinoa before cooking, How to cook quinoa, How to remove bitterness from quinoa, is quinoa a grain?, is quinoa a seed?, The right way to cook quinoa, why is my quinoa bitter?

Pizza

October 22, 2015 By Recipe Renegade 2 Comments

Share
Pizza by Recipe Renegade
Click on picture to go back to Pizza Dough.

Okay, I admit pepperoni isn’t exactly the healthiest food around, but it might be my favorite pizza topping. Honestly, pizza isn’t necessarily the healthiest choice either. Homemade and with healthier ingredients it can, at least, be eaten with less guilt. Who doesn’t love pizza, right?

Pizza
 
Save Print
Author: Recipe Renegade
Ingredients
  • Pizza Dough
  • 1 14.5 oz Can Diced Tomatoes
  • 3 oz. (1/2 a 6 oz. can) Tomato Paste
  • ½ Tablespoon Italian Seasoning
  • 1 Tablespoon Evaporated Cane Juice
  • ⅛ Teaspoon Black Pepper
  • ½ Teaspoon Garlic Powder
  • ½ Teaspoon Onion Powder
  • ½ Teaspoon Himalayan Salt (ONLY if using unsalted tomatoes)
  • 1½ Cups Shredded Cheddar Cheese
  • 1½ Cups Shredded Mozarrella
Instructions
  1. Preheat oven to 425°
  2. Oil pan for Pizza Dough.
  3. Make Pizza Dough and put into pan as instructed.
  4. In medium-size bowl, mix together: diced tomatoes, tomato paste, Italian seasoning, evaporated cane juice, black pepper, garlic powder, onion powder, and Himalayan salt (if using salt) in a bowl.
  5. Evenly spread sauce onto top of pizza dough.
  6. Evenly sprinkle cheddar and mozarella cheeses on top of pizza.
  7. Add toppings of your choice.
  8. Bake at 425° for 25 minutes.
Notes
Do NOT use Himalayan Salt if tomatoes are salted!
3.3.3077

This is my favorite kitchen cleaner. I use it, diluted, for my vegetables:

Share

Filed Under: Main Dishes, Recipes Tagged With: how to make homemade pizza, how to make pizza at home

Pizza Dough

October 21, 2015 By Recipe Renegade 1 Comment

Share
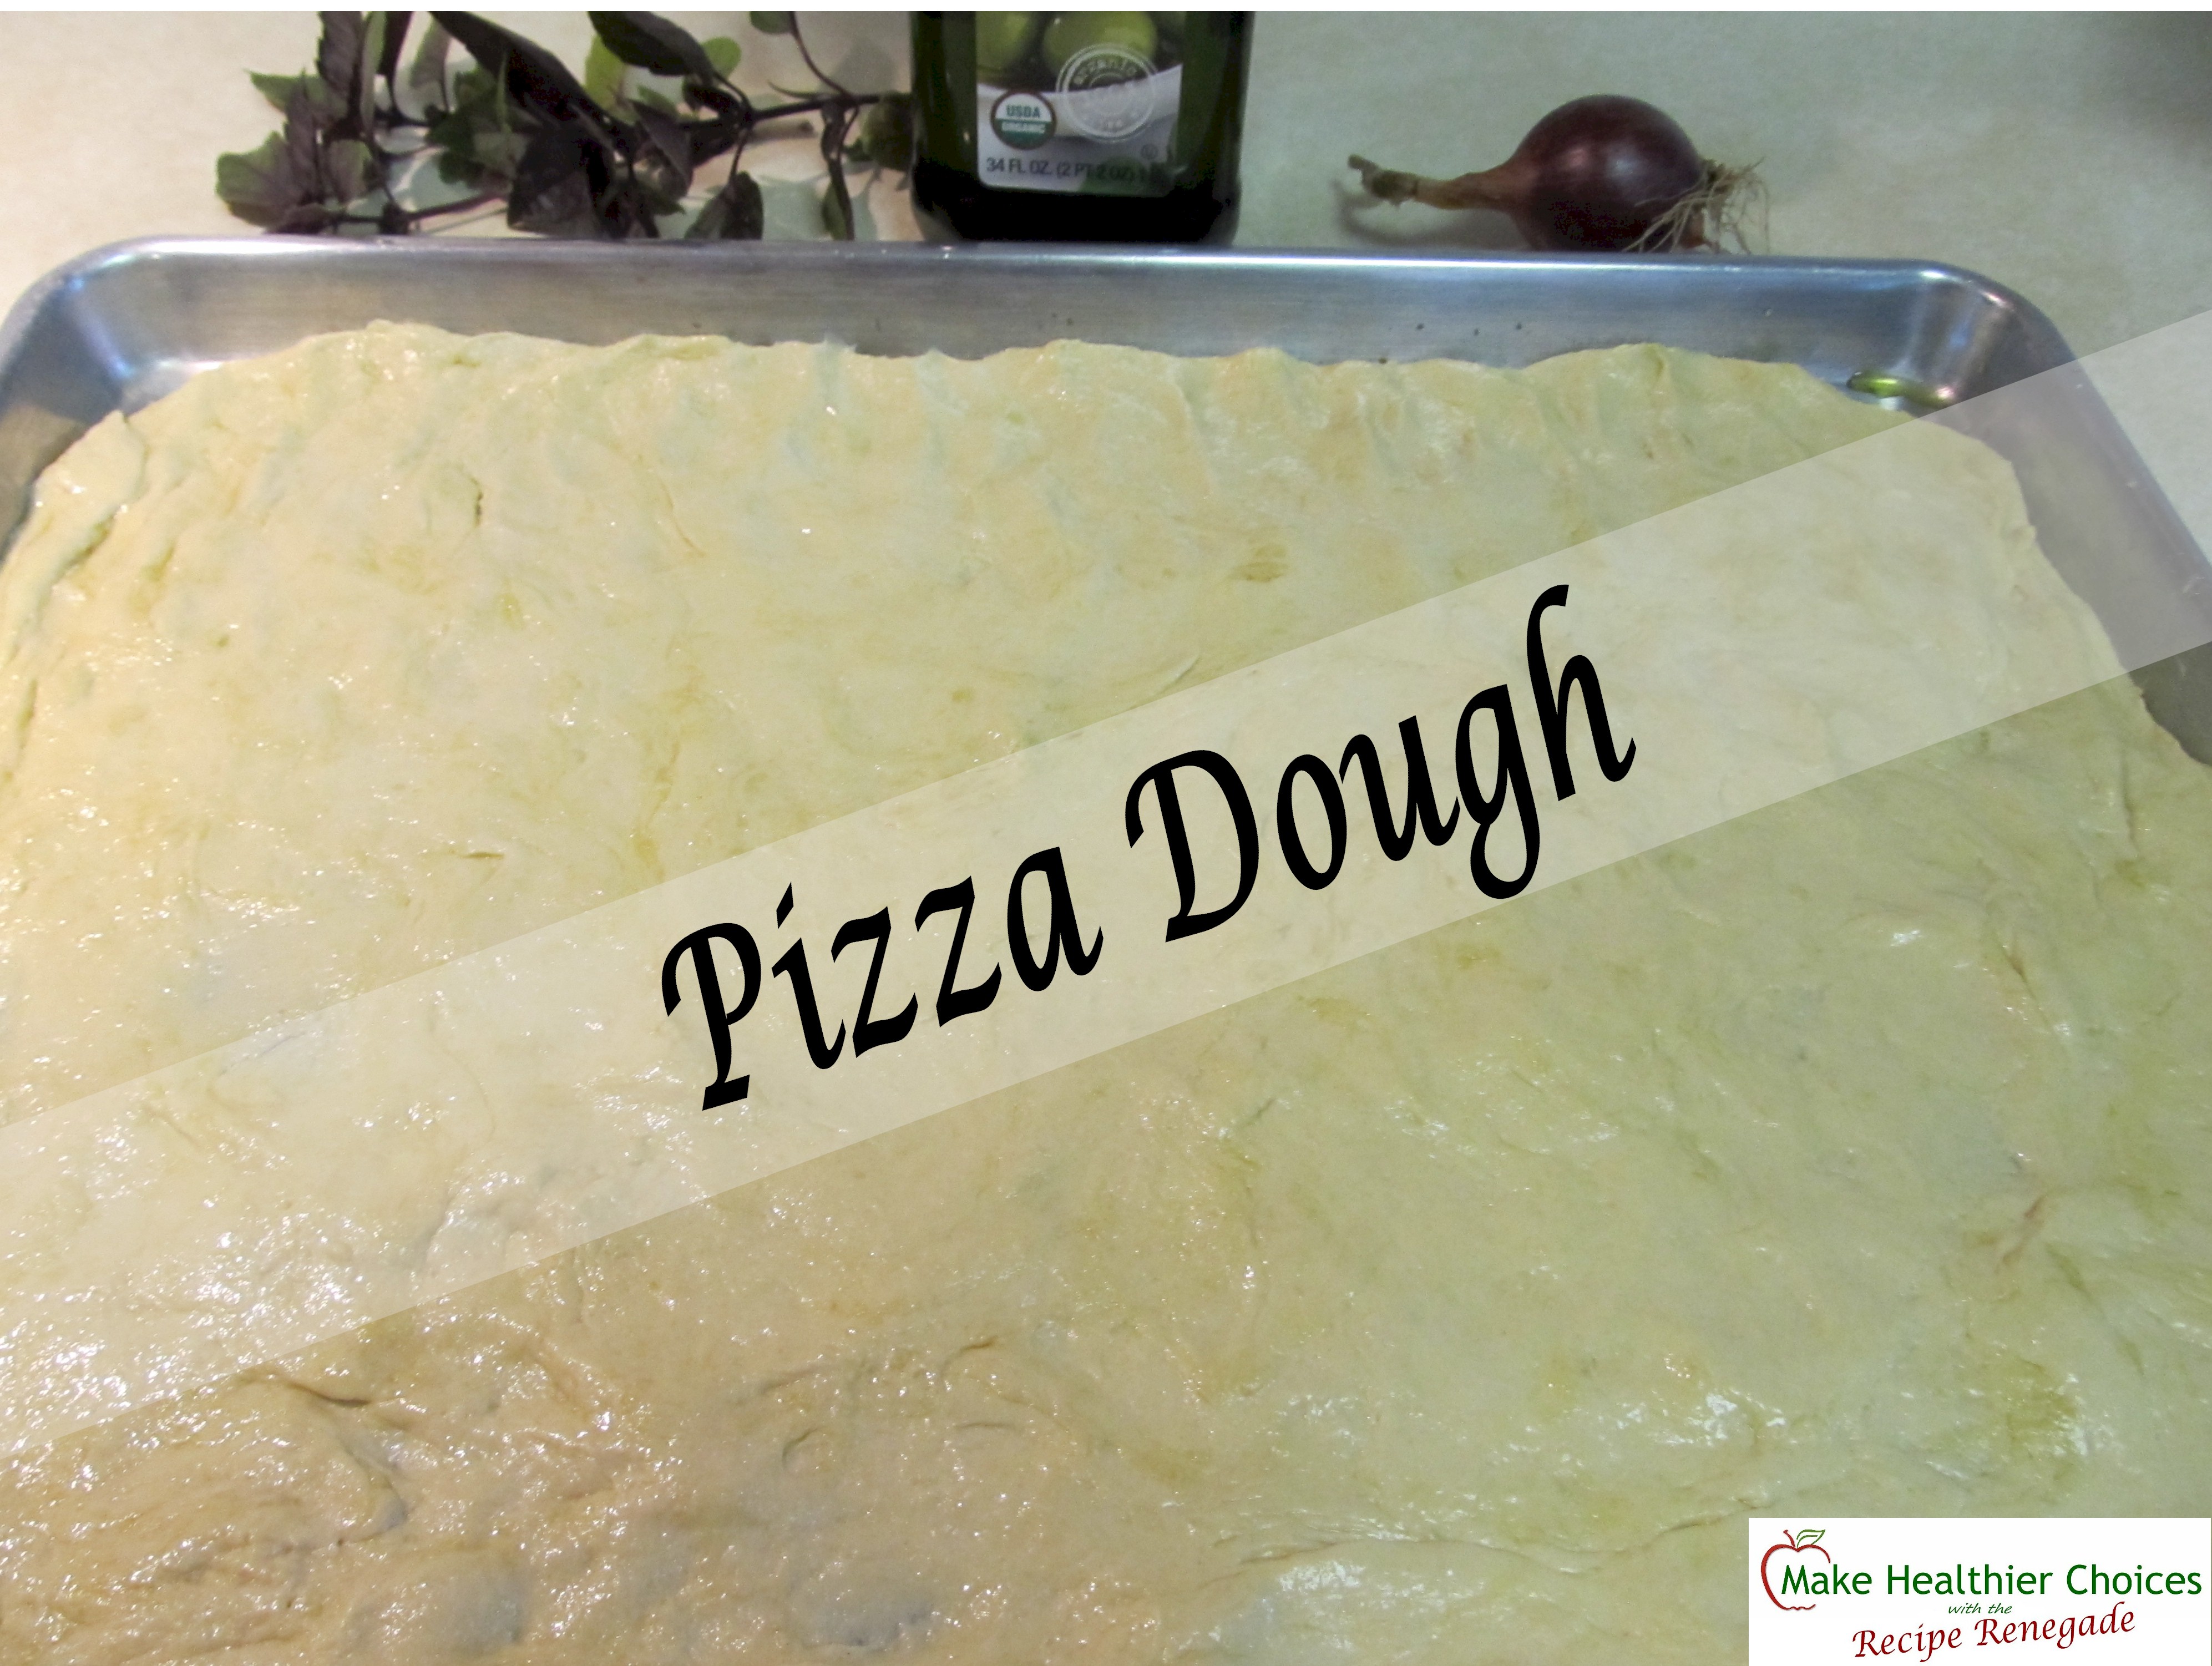
Dough in pan Recipe Renegade
Click on picture for recipe that turns this dough into PIZZA.

This pizza dough recipe is easy to make using a food processor.  Jovial’s Einkorn wheat contains a small amount of gluten, is our only wheat that’s not been hybridized and it is NOT sprayed with glyphosate (the active ingredient in Roundup).

Secrets to the best pizza dough: Use high-quality, all-purpose, glyphosate-free wheat flour and do NOT let the dough rise before baking.

Pizza Dough
 
Save Print
This dough uses an ancient wheat that contains gluten.
Author: Recipe Renegade
Ingredients
  • 3 Cups Einkorn All-Purpose Flour
  • 3 Tablespoons Evaporated Cane Juice
  • 1½ Teaspoons Himalayan Salt
  • 1½ Teaspoons Instant Dry Yeast*
  • 3 Tablespoons Soft Butter
  • 1 cup +/- Warm Water
  • 2 to 3 Tablespoons Olive Oil for oiling pan and hands
Instructions
  1. With knife blade in food processor bowl, add flour, evaporated cane juice, salt and yeast.
  2. Process for 10 seconds.
  3. Add soft butter.
  4. Process for 20 seconds.
  5. With food processor running, slowly add enough water to form a ball.
  6. Remove dough from processor and place on 17" x 12" jelly pan or pizza pan.
  7. Thoroughly coat hands with olive oil.
  8. Use oiled hands to evenly press dough onto pizza pan. (It will seem like there isn't enough dough, but there is.)

  9. Turn into PIZZA by topping with your favorite sauce, cheese and toppings.
  10. Bake at 425 ° for 25 minutes.
Notes
*1 Packet Active Dry Yeast may be substituted. If using Active Dry Yeast, subtract ¼ cup warm water from the 1 cup measurement and use to active yeast. Add at the same time as the rest of the water.
3.3.3077


Make sure you use glyphosate-free flour made from wheat that has NOT been hybridized, if you want the best health benefit . I use Jovial’s Einkorn Organic Flour. In fact, it says right on their package, “NATURE’S ORIGINAL WHEAT & the only one never hybridized.” I hope you’ve had a chance to read Are You Still Eating Wheat?

Share

Filed Under: Main Dishes, Recipes Tagged With: how to make home made pizza, how to make homemade pizza, how to make homemade pizza dough, How to make pizza dough, the secret to great pizza, the secret to making great pizza dough, which flour to use for pizza dough

Tom’s Red Pepper Hummus

October 14, 2015 By Recipe Renegade Leave a Comment

Share
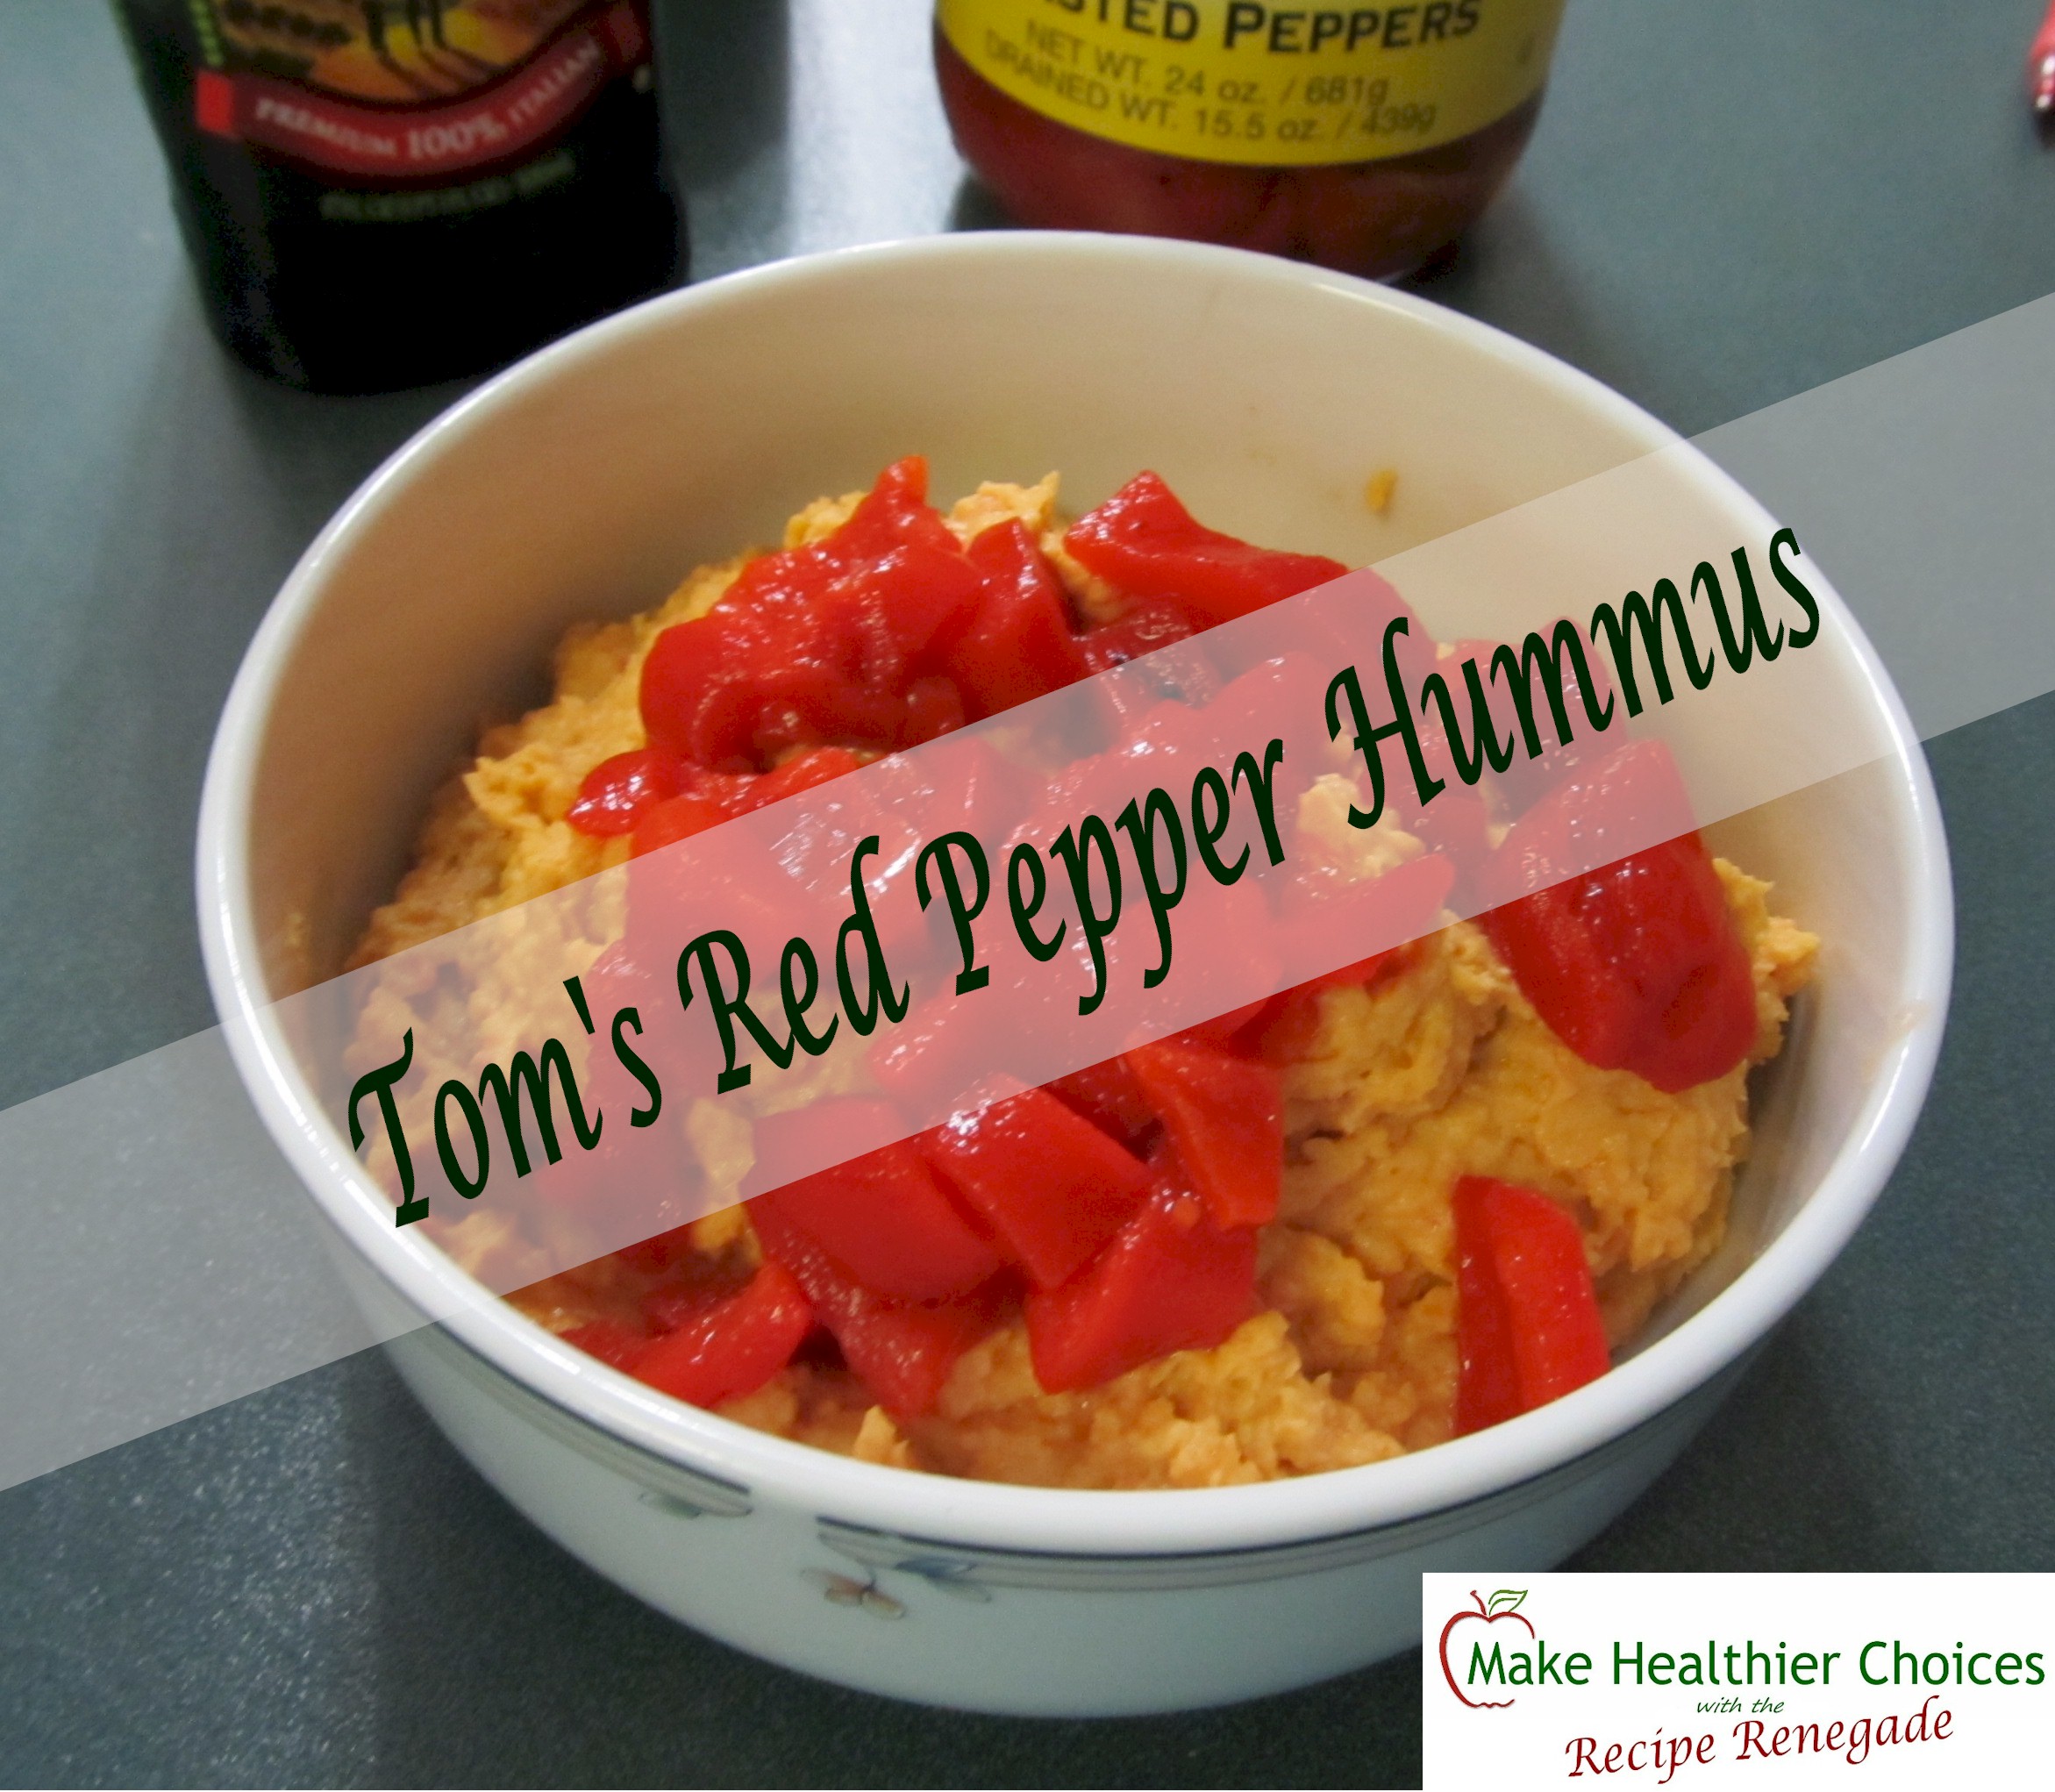
Tom's Red Pepper Hummus
Tom’s Red Pepper Hummus

I have not yet found a store-bought hummus I can eat. Unfortunately, I can always taste the preservatives. I know, that’s probably a bit odd, but it might be a good thing.

This hummus is quick and easy to make. Everything goes into a food processor, except the red-pepper garnish. Give it a spin and you’re done!

Tom's Red Pepper Hummus
 
Save Print
An exceptionally easy hummus to make.
Author: Recipe Renegade
Ingredients
  • 2 Cans Chick Peas
  • ¼ Cup Olive Oil
  • Juice of ½ Lemon
  • ½ cup Tahini
  • 2 Teaspoons Powdered Garlic
  • 3 to 4 Roasted Red Peppers (about ½ of a 16 ounce jar)
  • ½ teaspoon Himalayan Salt
  • OPTIONAL - ½ teaspoon Cumin
  • OPTIONAL - 1 small Jalapeno - stem removed, cut in half and de-seeded
Instructions
  1. Drain and thoroughly rinse Chick Peas (Garbanzo Beans).
  2. With knife blade in bowl place all ingredients, excluding one roasted red pepper, into food processor. (If using cumin and Jalapeno, add now.)
  3. Process until completely mixed.
  4. Remove from processor and place in bowl.
  5. Chop remaining red pepper and stir into hummus or place on top as garnish.
Notes
Traditional hummus usually includes cumin. Since I'm not personally a fan of cumin, I've made ½ teaspoon optional. Not everyone is a fan of jalapenos and this recipe tastes delicious with or without the jalapenos.
3.3.3077


My very first experience with Chick Peas was when someone told me about a delicious tossed salad that included Chick Peas. I think it had spinach, Chick Peas and balsamic vinegar. Beyond that, I don’t remember the recipe. I had never heard of Chick Peas (yes it was many, MANY years ago). I bought some during my next grocery-shopping excursion and tucked them safely away in my pantry for later use.

Weeks later, I finally decided to make that salad. I went to my pantry and looked and looked only to find Garbanzo Beans. those Garbanzo Beans sat in my pantry for probably months as I wondered how I could have purchased Garbanzo Beans instead of the Chick Peas I was looking so forward to adding to the salad.

When I finally cleaned out my pantry a month or two later and found the Chick Peas. As I turned around the can of Garbanzo Beans, there on the other side I found, “Chick Peas.” That is when I learned that Garbanzo Beans and Chick Peas are one and the same. Garbanzo Beans are to Chick Peas like Coriander Leaves are to Cilantro! I only learned that cilantro is the leaves of the coriander plant, when I became a gardener.

Share

Filed Under: Gluten-Free, Recipes, Snacks Tagged With: are garbanzo beans and chick peas the same?, Delicious and easy-to-make red pepper hummus., garbanzo beans and chick peas, How to make quick and easy red pepper hummus

« Previous Page
Next Page »

Primary Sidebar

Search

Click for more information.

Follow me on:

Please be advised:

Statements on this website have not been evaluated by the FDA and are NOT intended to diagnose, prescribe, treat, prevent or cure any disease, condition, illness, or injury. Please do not use any information on this website in place of a doctor. Please consult a doctor before making ANY dietary changes.

AFFILIATE DISCLOSURE:

AFFILIATE DISCLOSURE: Throughout this website, you will find affiliate links. Any links you click on may or may not provide remuneration to help me support this website. Please note that any reviews will be honest reviews regardless of monetary compensation. Make Healthier Choices is a participant in the Amazon Services LLC Associates Program, an affiliate advertising program designed to provide a means for sites to earn advertising fees by advertising and linking to Amazon.com. Please be advised that Lynn McGovern, d/b/a Make Healthier Choices, is an Independent Zija International Distributor which includes Améo Essential Oils and Ripstix Supplements.

My Favorite Kitchen Appliance

I use this air fryer every day. I can not only air fry, I can bake, toast, defrost and much, much more.

Archives

  • March 2025
  • January 2025
  • December 2022
  • October 2022
  • August 2022
  • March 2022
  • September 2021
  • May 2021
  • November 2020
  • January 2020
  • January 2018
  • March 2017
  • February 2017
  • August 2016
  • May 2016
  • April 2016
  • March 2016
  • February 2016
  • January 2016
  • December 2015
  • November 2015
  • October 2015
  • September 2015
  • August 2015
  • July 2015
  • June 2015
  • May 2015
  • Welcome
  • Recipes
  • About Lynn
  • Ingredients & Substitutions
  • Affiliate Disclosure
  • Articles

Copyright © 2025 · Make Healthier Choices · Log in