• Skip to primary navigation
  • Skip to main content
  • Skip to primary sidebar

Make Healthier Choices

Helping people Make Healthier Choices about real-food choices for optimal heath.

SEARCH

  • Home
  • Welcome
  • Free Body Scan
  • My Metabolic Meals
    • My Favorite Metabolic Meals
  • Recipes
    • Beverages
      • Audrey’s Pine Needle Tea
    • Bread
    • Candy
    • Desserts
    • DIY Recipes
      • DIY – Body
      • DIY – Household
      • DIY – Pets
      • Essential OIls
    • Fermented Foods
    • Free Recipes
    • Fruits
    • Main Dishes
      • Katherine’s White Chicken Chili
    • Meats
    • Pet Recipes
    • Salads
    • Sauces
    • Side Dishes
    • Snacks
    • Soup
      • Thai Soup – Immune-Building Soup
    • Spices
    • Vegetables
  • Recipes by Category
    • Gluten-Free
  • Blog
    • Articles
    • Ingredients & Substitutions
    • Reviews
  • About
    • Affiliate Disclosure
    • Contact me
    • Disclaimer
    • How I Overcame Sickness
  • The FUN Stuff
    • Sweepstakes
    • Take a Quiz
    • Free e-Books
  • Save on My Favorite Products
  • V Info

Fermented Foods

Kombucha Misinformation

November 5, 2015 By Recipe Renegade 2 Comments

Share

Sometimes it’s hard to differentiate between fact and fiction on the Internet. Especially when it comes to Kombucha. Kombucha myths are easy to find.

“I don’t drink Kombucha because of the sugar.”

A properly fermented, home-made Kombucha will have little to no sugar. I don’t like to ferment mine so long that there’s no sugar left. At some point I’ll purchase a test kit to know how much sugar is in my kombucha. Be careful of commercial brands that add sugar after fermenting. If you can’t stand the taste of no-sugar-added Kombucha, it’s not a bad idea to start out with one with sugar added to get used to drinking it. You can always graduate slowly to one without the sugar. Not everyone will want to drink something as tart as Kombucha. 

Glass of Kombucha Flowers with words Recipe Renegade

“There are no probiotics in Kombucha.”

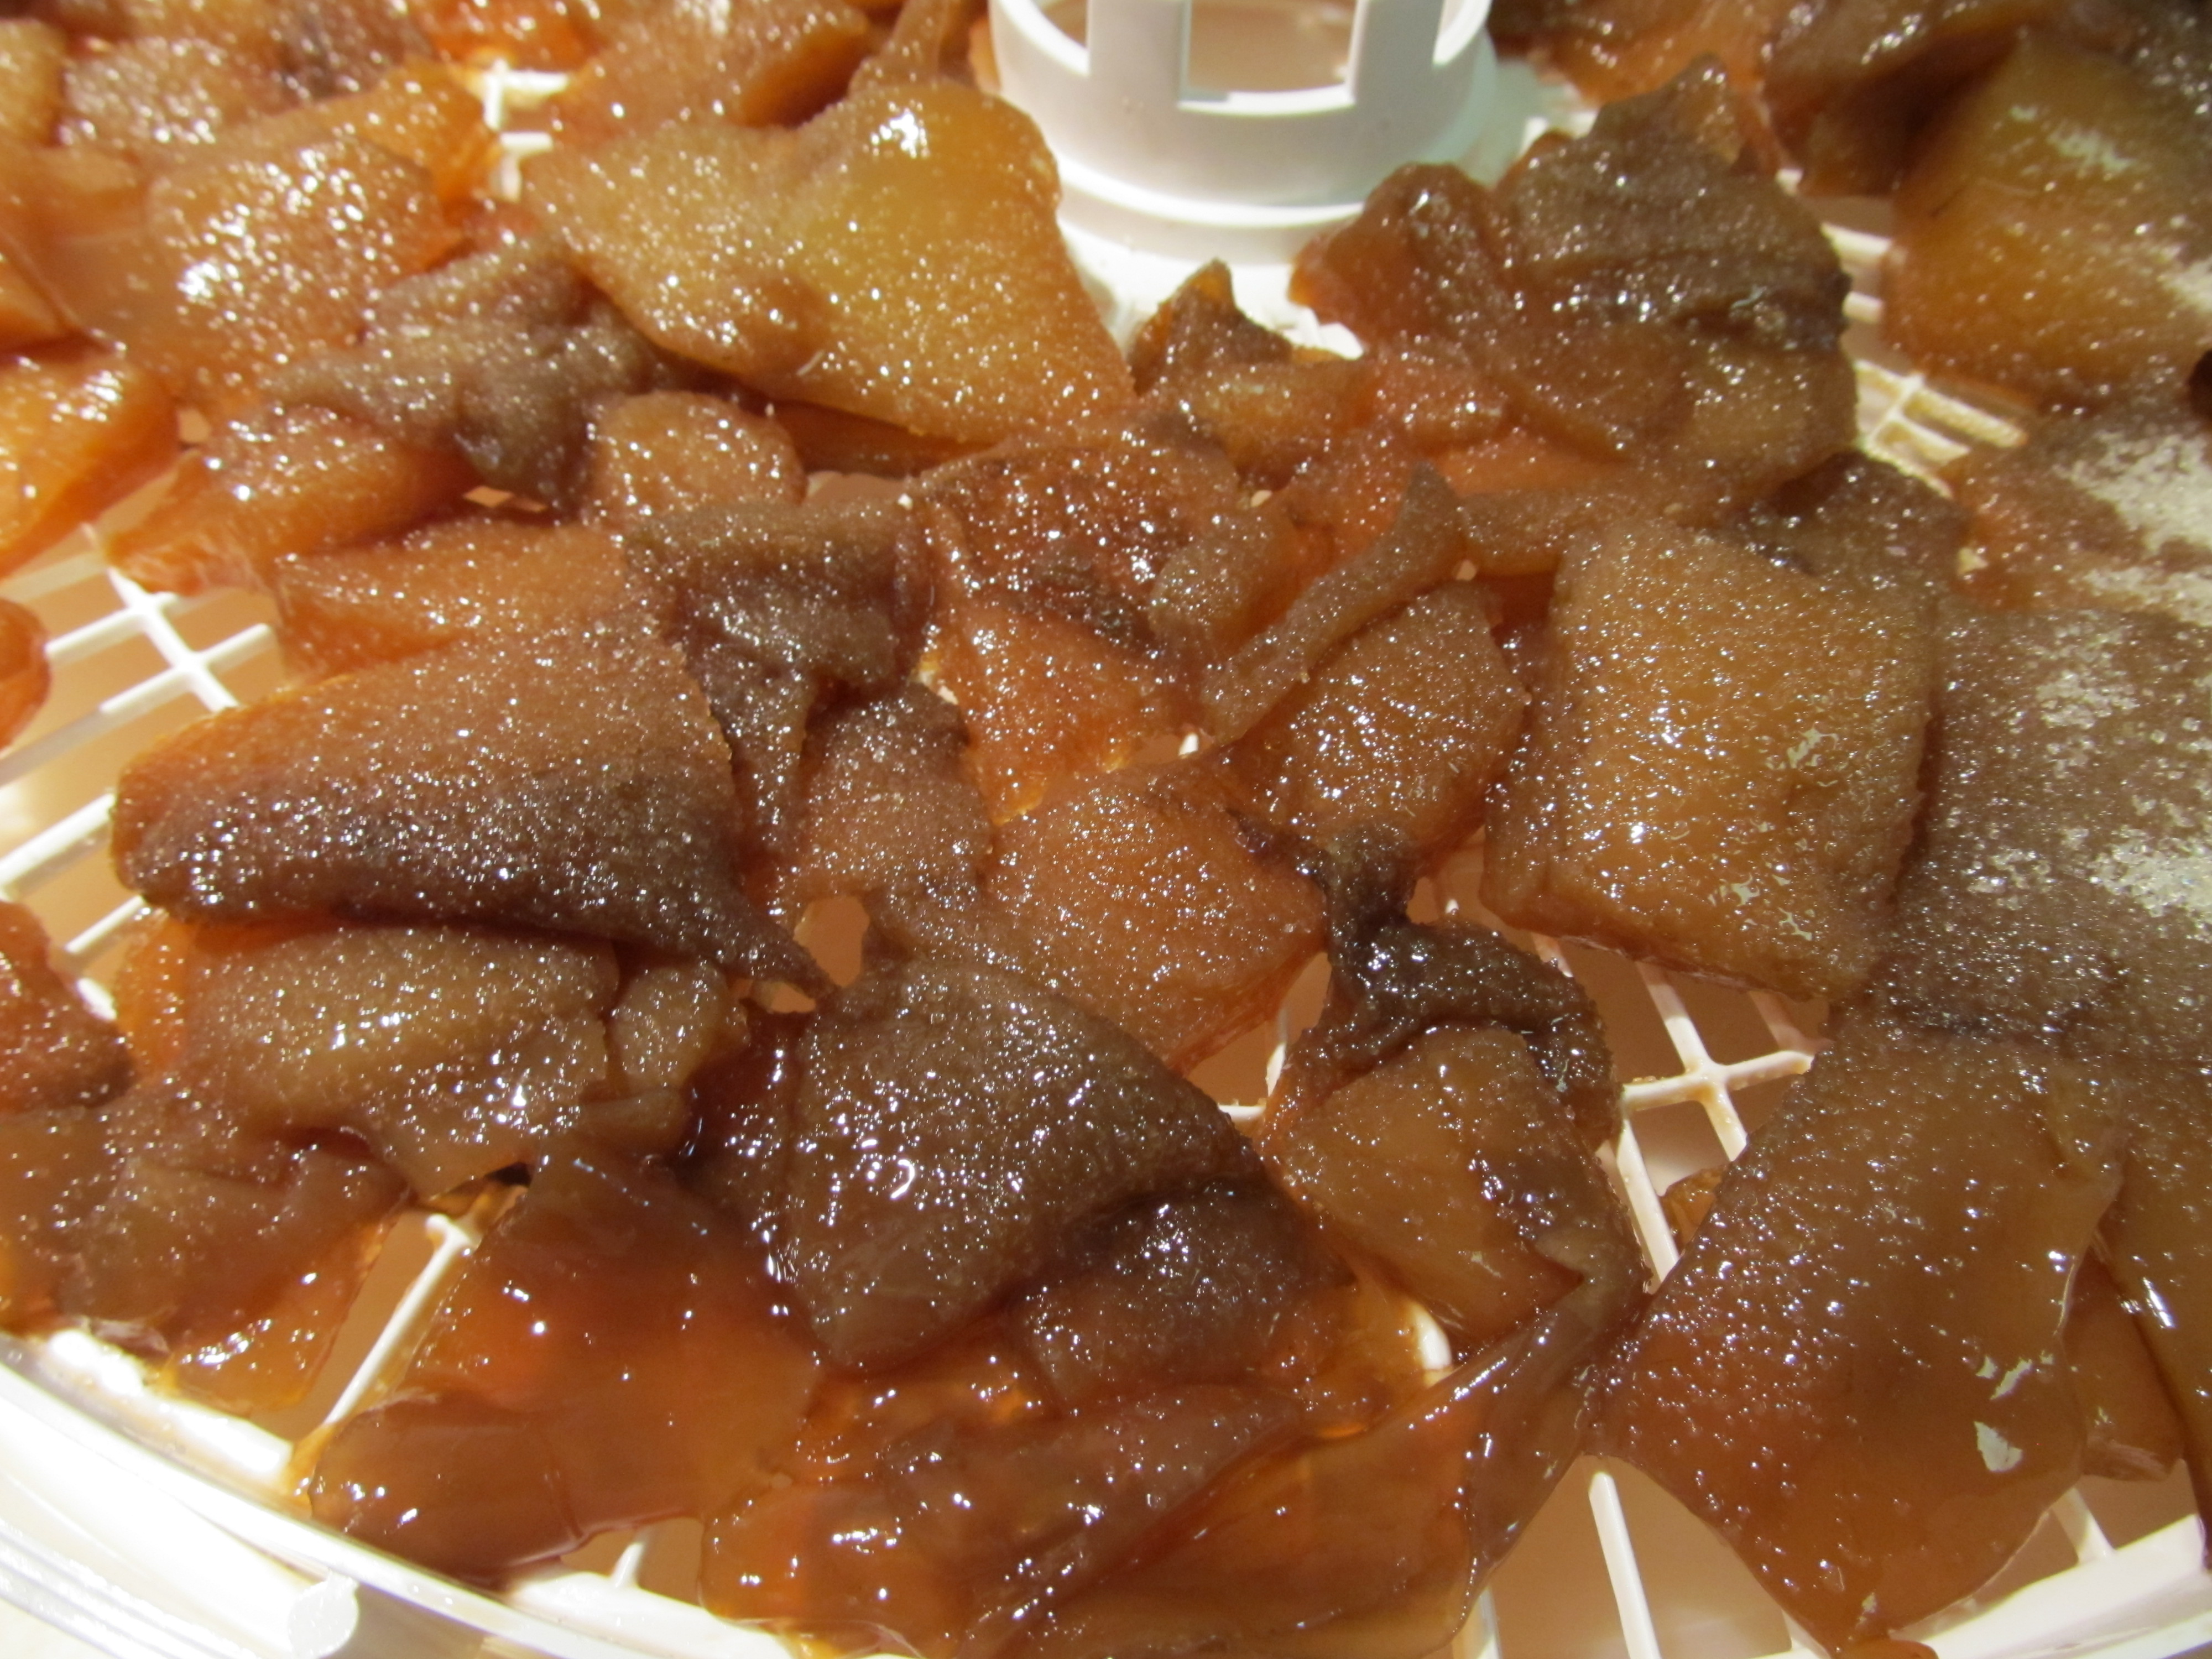
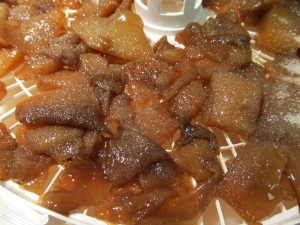
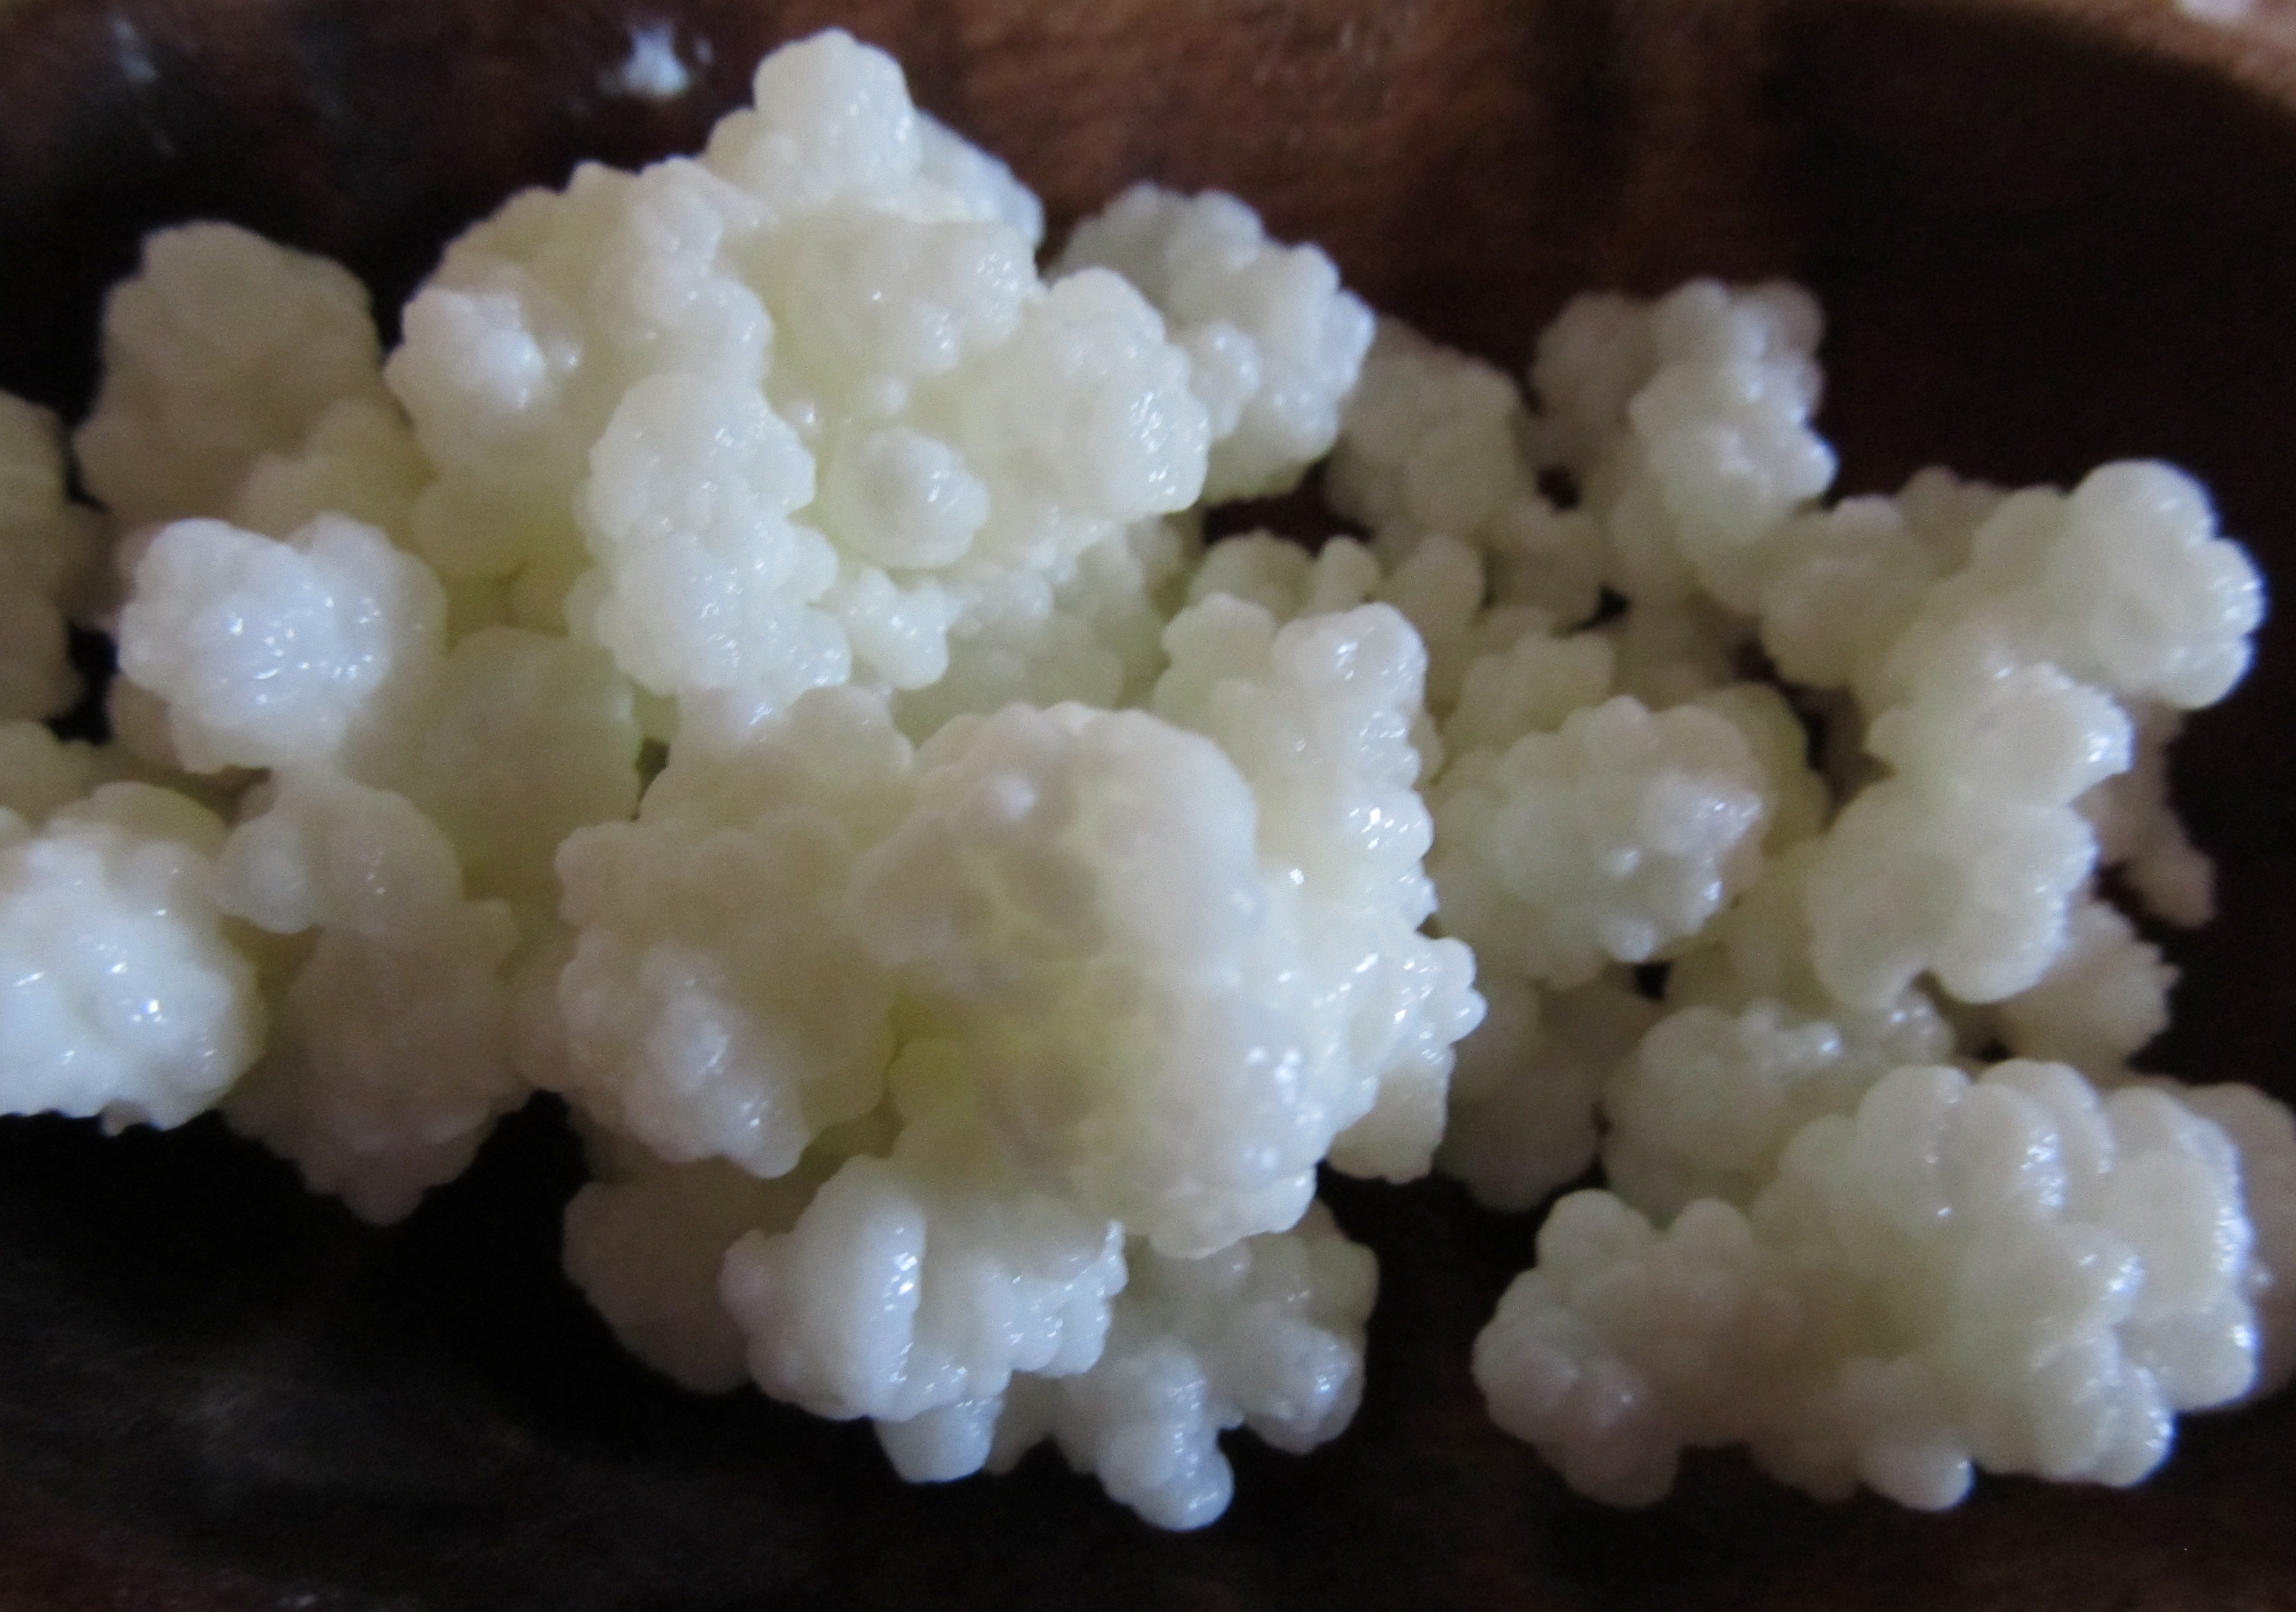
Probiotics are live organisms, such as yeasts and bacteria, that promote life. “Pro” means “for” and “biotic” means “life,” so probiotic means “for life.” Kombucha can’t be made without a SCOBY, which stands for Symbiotic Colony of Bacteria and Yeast. A SCOBY is also known as a “mother,” “mushroom,” or “pancake.” To see if your store-bought Kombucha contains live cultures, try to grow your own SCOBY by putting some in a glass and leaving it on your counter for a week or so. You’ll see a film start to grow if it is alive.  Populating our guts with good yeasts and good bacteria promotes life.

A consensus definition of the term “probiotics,” based on the available information and scientific evidence, was adopted after a joint Food and Agricultural Organization of the United Nations and World Health Organization expert consultation. In October 2001, this expert consultation defined probiotics as: “live micro-organisms which, when administered in adequate amounts, confer a health benefit on the host.”

 “Kombucha isn’t good for us because tea contains lots of fluoride, so Kombucha has lots of fluoride in it”

Use organic tea and clean, un-fluoridated water to reduce fluoride. A small amount of naturally-occurring fluoride from the tea shouldn’t be an issue. There’s a big difference between a small amount of naturally-occurring fluoride and large amounts of man-made fluoride. Man-made fluoride is a byproduct of the fertilizer and aluminum industries.
It’s essential to always use clean water that does not contain fluoride, chlorine, or any other toxins, when making our own kombucha. Common sense tells us that we really shouldn’t be fermenting toxins.

Cultures for Health is one of my favorite places to buy fermenting supplies. You can find them HERE. Check out their article that puts some Kombucha myths to rest: Busting Kombucha Myths.

Share

Filed Under: Articles, Beverages, Blog, Fermented Foods, Recipes Tagged With: does kombucha have sugar? does kombucha have probiotics? what are probiotics, kombucha

Kombucha Kandy

September 23, 2015 By Recipe Renegade 2 Comments

Share

What to do with all those leftover SCOBYs? How about Kombucha Kandy? Kombucha Kandy (candy) isn’t made from Kombucha, it’s made from the Kombucha SCOBY. Don’t expect the Kombucha Kandy to have probiotics, as they will die off when heated. Probiotics (good bacteria) can not withstand high heat. Go here to learn more about the Kombucha-making process.

Kombucha Kandy 3 Recipe Renegade

Kombucha Kandy
 
Save Print
Author: Recipe Renegade
Ingredients
  • 3 Cups Kombucha SCOBYs cut into 1" pieces
  • ½ Cup Evaporated Cane Juice
  • 2 Tablespoons Muscovado
  • 1 Tablespoon Evaporated Cane Juice
Instructions
  1. Place cut pieces of SCOBY in colander or strainer; let drain for 20 minutes to remove liquid.
  2. Place SCOBYs and sugar in stainless steel pot on stovetop.
  3. On medium high, bring to a soft boil. Be careful, this will be HOT!
  4. Simmer for about 20 minutes.
  5. Remove from burner and let sit until completely cooled, stirring occasionally to help heat escape.
  6. Spoon onto dehydrator tray.
  7. Sprinkle with 1 Tablespoon Evaporated Cane Juice.
  8. Dehydrate at 155° for about 18 to 24 hours.
  9. Kandy/candy will remain "gummy" and sticky.
Notes
PLEASE BE CAREFUL! When heated, this mixture will become EXTREMELY HOT!!!
3.3.3077

Kombucha Kandy in dehydrator

I made my newest batch with 12 cups of SCOBY – YIKES! I knew I had saved a lot of SCOBYs, but was surprised to see just how many I had saved! These will stick to the dehydrator trays. For my next batch I’ll try spraying or basting the trays with coconut oil. I’ll let you know how it works out.

Share

Filed Under: Candy, Fermented Foods, Gluten-Free, Recipes Tagged With: How to make kombucha kandy, kombucha candy, kombucha kandy gummy, scoby kombucha candy

Sauerkraut

September 16, 2015 By Recipe Renegade 1 Comment

Share

Fermenting was a lost art that is making a comeback. Although it was intimidating when I first tried fermenting, I quickly learned how easy it is. What a great, inexpensive way to populate the gut with probiotics  (good bacteria and yeast). Sauerkraut fermenting is an anaerobic (without oxygen) process as opposed to Kombucha and Milk Kefir which are aerobic (with oxygen) processes.

Sauerkraut Recipe Renegade


With any fermentation process, it is important to keep out pathogens. I typically use a paper towel or dishcloth with a rubber band around the jar for aerobic ferments and an airlock for anaerobic ferments. The airlock allows gases to escape and does not allow pathogens into the ferment. If not using an airlock for anaerobic ferments, yeasts and molds can easily enter the ferment. Personally, I’d rather not have to worry about figuring out if that weird growth on top is a safe-to-eat yeast or a dangerous mold. If a dangerous mold grows on top, the entire ferment needs to find its way to the garbage. For the low price of an airlock today, I’d rather play it safe!

If you don’t have time to make your own, try this one from Amazon: Organic Hamptons Brine Artisinal Sauerkraut Classic

I adapted this recipe from Nourishing Traditions cookbook by Sally Fallon and Mary Enig.


Sauerkraut
 
Save Print
Sauerkraut - Fermented Cabbage
Author: Recipe Renegade
Ingredients
  • 1 Tablespoon Celtic Salt or Himalayan Salt
  • ¼ Cup Liquid Whey (strained from yogurt or cheese NOT powder)
  • Cored and Shredded Small Cabbage
  • Water (without chlorine or fluoride)
Instructions
  1. Remove outer leaves of cabbage and set aside.
  2. Shred cabbage and place in large plastic bowl.
  3. Sprinkle salt over cabbage.
  4. Using a wooden pounder (tamper, stomper), pound cabbage. (A mallet-type meat tenderizer will also work for this step.)
  5. Let sit for one hour to release juices.
  6. Tightly stuff cabbage and juice into 2-quart mason jar, using pounder to tamp down.
  7. Cover with saved cabbage leaf.
  8. Add liquid whey.
  9. Add un-chlorinated, un-fluoridated water to within a few inches of the top.
  10. Add weight.
  11. Fill with clean un-chlorinated, un-fluoridated water leaving one inch of air space on top.
  12. Cover with lid that has airlock.
  13. Sit on counter top (place towel or tray underneath in case it leaks) and allow to ferment for 4 days.
  14. Store in refrigerator.
  15. NOTE: If whey is not available, add 1 extra tablespoon of salt. DO NOT USE POWDERED WHEY!
3.3.3077

Along with the whey, salt, cabbage, and water, supplies I like to use for fermenting are: pounder, large plastic bowl, glass (non-lead) vessel(s) to hold about 2 quarts cabbage (about one head of cabbage), a weight to hold the cabbage down under the water, and airlock lid. Patience is required—4 days is minimum, and it’s said to be best after storing in refrigerator for 6 months.

The only items I recall my mom using for fermenting when I was a kid were a crock, a plate, and a clean rock for holding the plate/cabbage under the water. She also fermented in the basement, which I’m sure probably contained lots of mold. There are some molds that are okay and can be skimmed off and other molds that require the entire ferment be thrown out. Honestly, I’d rather not need to learn the difference—I’d rather simply use an airlock. It’s not necessary, but I sure feel better using one.  (If you’re a do-it-your-self type, it’s possible to add an airlock to most any plastic or metal lid.) Scroll down below the recipe to see my supplies.

I find it’s easier to shred the cabbage cutting it into strips with a sharp knife rather than a food processor.Salted Cabbage Recipe Renegade

I don’t remember where my first recipe came from, but I couldn’t eat it. The recipe didn’t use whey, so the salt was doubled. It also called for juniper berries. I’m not a fan of anything juniper (I should have known to leave them out) and I love salt, but the sauerkraut turned out way too salty! When less salt is used, because whey is substituted, it’s much more palatable in my humble opinion.

Below are my fermenting supplies. I place the small jar (right side up) on top of the cabbage leaf to help keep the cabbage under the water. The solid cover is for after the cabbage becomes sauerkraut:

Fermenting Supplies Recipe RenegadeIf liquid whey from home-made yogurt is not available, it is possible to use store-bought yogurt. Unfortunately, there’s no guarantee there will be live cultures in *commercial yogurt. If possible, find someone who makes yogurt or cheese and beg for liquid whey!

*According to world-renowned food formulator, Russ Bianchi’s January 12, 2013 blog post, “Yogurt is complete JUNK FOOD, full of harmful acids, sugars, fake color and flavors, genetically modified starches, colloids, gums, preservatives, stabilizers, emulsifiers, with non-absorbable nutrients or fortification because it is cooked to at least 238 degrees F for a dwell period defined by USDA regulations that KILLS any alleged benefit of nutrient value!”


Share

Filed Under: Fermented Foods, Gluten-Free, Recipes, Side Dishes Tagged With: how to ferment cabbage, how to make sauerkraut, how to use whey in sauerkraut, low salt sauerkraut recipe, sauerkraut recipe

Please Don’t Eat Your Babies!

September 10, 2015 By Recipe Renegade Leave a Comment

Share

Milk Kefir Myths

There’s lots of misinformation on the internet–especially when it comes to milk kefir and other ferments. I watched a great video not too long ago that explained exactly how to make milk kefir. There were lots of people commenting that the instructions were wrong. This person had been making milk kefir for years, hadn’t killed the grains, and had successfully made kefir. So how wrong could those instructions have been? The only thing I disagreed with in their video, was the use of a colander to strain out the grains instead of a metal, fine-mesh strainer.

Many people use a plastic colander to strain their grains when the kefir is finished because they’ve been misinformed (as I was) about using metal with kefir grains and other ferments. Using a plastic mesh strainer might be okay for water kefir, but is impossible for milk kefir; it takes forever for the kefir to strain through. Using a colander with big holes allows the babies to slip through and yes, you’re eating/drinking your babies. It’s not that it is wrong to eat your baby kefir grains; you miss out on growing extras that can be gifted to friends and family, or sold. If you use a metal, fine-mesh strainer, you can rinse the strainer and see the small babies left behind. Yes, those are the babies you are eating since they’re slipping through the colander holes. Using a metal, fine-mesh strainer makes it easy to save those small babies so you can let them grow, dry them for later, or give them to a friend.

Stainless Steel Is Okay To Use

IMG_4349
Milk Kefir Baby Grains (SCOBY – Symbiotic Colony of Bacteria and Yeast)

Now you’re saying, “you can’t use metal with kefir grains.” Sorry. You’re wrong. Stainless steel is fine. Do not use any other metal and make certain the metal you’re using is, in fact, stainless steel. I’ve been using stainless steel for years and never had a problem. I personally wouldn’t store kefir or the grains in metal or even plastic–I always use glass. And yes, it’s perfectly fine to use a stainless-steel spoon to transfer the grains. If you feel better using a plastic colander, at least line it with a fine mesh cheesecloth like this one so you don’t unknowingly eat/drink your babies.


It’s Easy to Wake Up Your Kefir Grains

If using pasteurized milk, there’s nothing special to do when you receive your grains other than if they’re dried, they need to be re-hydrated (activated). Follow the instructions that came with your grains. If using raw milk, they must be transitioned. Raw milk contains bacteria that the kefir grains need to get used to.

If you don’t have time for making milk kefir, check out high-quality probiotics here at my Fullscript Store:


Make Healthier Choice’s Fullscript Store

20% off and free shipping at $50!


I don’t ever rinse my kefir grains unless they’ve been sitting in the refrigerator for an extended period, because rinsing can weaken them. The only other time is after I strain my kefir, I rinse the bottle and strainer to find the babies. You’ll know if your grains need a rinse. They can go right from milk kefir into the new milk.  NEVER rinse kefir grains with chlorinated or fluoridated water, as these chemicals can damage them. Chlorine’s job in the water is to kill bacteria, so you can imagine it would also kill the good bacteria in the grains.

They’re Not Grains

Remember that the Grain in Kefir Grain doesn’t mean it’s a true grain; it’s a SCOBY – a Symbiotic Colony of Bacteria and Yeast. They are living organisms and it’s important to take good care of them. Keeping them alive can sometimes be a challenge, especially if a vacation is on the schedule. I keep mine, tightly covered, in fresh, raw milk in a glass jar in the refrigerator for about two weeks. They’ve gone a bit longer and survived, but I try to give them new milk every two weeks.

Kefir grains actually look more like cauliflower than they do a grain:

Milk Kefir Grains
Milk Kefir Grains (SCOBY – Symbiotic Colony of Bacteria and Yeast)

Learn how to make Milk Kefir.

Here’s a short how-to video:

Share

Filed Under: Articles, Blog, Fermented Foods, Recipes Tagged With: fine mesh cheesecloth for straining kombucha, How to make milk kefir, milk kefir, milk kefir grains, water kefir, what are milk kefir grains, why are they caled milk kefir grains?

Milk Kefir

September 9, 2015 By Recipe Renegade 4 Comments

Share

Milk kefir is one of the quickest and easiest ferments to make and it contains a high quantity of beneficial bacteria. There’s nothing special to chop, steep, heat up, or cool down. Place milk and kefir grains into a glass jar, cover with breathable fabric, and wait. Strain to remove grains, chill, and drink. It’s that easy!

Milk Kefir Recipe Renegade


Milk Kefir
 
Save Print
Milk kefir is a great way to populate the gut with good bacteria - also known as "probiotics." Goat's milk is the healthiest option, since it's closest to human milk.
Author: Recipe Renegade
Ingredients
  • 2 Quarts Milk
  • 1 Teaspoon Kefir Grains
Instructions
  1. Place milk in glass jar.
  2. Add Kefir grains.
  3. Cover with paper towel, coffee filter or dish towel (breathable fabric) and secure with rubber band or string.
  4. Let sit at room temperature for about 24 hours.
  5. Check to see if it's done fermenting by slightly tilting. If milk pulls away from sides in a solid mass, it's ready to strain.
  6. When finished, strain to remove kefir grains.
  7. Store finished kefir in glass jar in refrigerator (or it will continue to ferment).
  8. Re-use grains to make another batch of kefir or store them in glass jar in refrigerator in fresh milk for one week.
3.5.3208

Milk will ferment more quickly in warmer temperatures and more slowly in cooler temperatures. In the summer, my goat milk ferments  in about 22 hours and cow’s milk takes about 24 to 36, while in the winter it can take a couple of days.

Never use ultra-high pasteurized milk. I use raw cow’s milk or raw goat’s milk, but I’ll be honest-I don’t love the taste, especially when I use goat’s milk. I add maple syrup or hide it in a smoothie to make it palatable. If I use it in a smoothie, I add it last and mix it in on the slowest speed so that I’m not disturbing the bacteria.

Check to see if milk is adequately fermented by slightly tipping the bottle. If it separates from the side in a solid mass that’s similar to yogurt, it is done. Once the milk is fermented, strain using only a stainless-steel, mesh strainer (don’t believe those rumors that you can’t use metal, but make certain it’s stainless) to remove grains. Store finished kefir in glass jar in refrigerator and use grains to make another batch of kefir. If the grains won’t be immediately used again to make another batch, store them in fresh milk in a tightly-covered glass jar in refrigerator for up to a week. (I’ve been able to store mine for up to about two weeks. Keep in mind that not changing the milk sooner risks losing the grains.)

If the milk ferments for too long, it will separate into curds and whey. If you’re not familiar with whey, this is what it looks like – it’s the “watery” looking liquid:

Milk Kefir Whey


The kefir won’t be ruined if it goes that far–just strain as quickly as possible and shake before drinking.

Supplies I use for fermenting and straining:

milk kefir 5

Page 2 Please Don’t Eat Your Babies! Click here for lots more info about Milk Kefir (continued) 

Short how-to video:


Share

Filed Under: Fermented Foods, Gluten-Free, Recipes Tagged With: how hard is it to make milk kefir, How to make milk kefir

Kombucha – Second Ferment (2f)

May 13, 2015 By Recipe Renegade 1 Comment

Share


Kombucha 2f Recipe Renegade

This is the blueberry juice I use for a second ferment:

Blueberry Juice 528 x 684You can find it here on my affiliate link at Amazon.com:


Kombucha - Second Ferment (2f)
 
Save Print
Author: Recipe Renegade
Ingredients
  • Your choice of juice (not containing HFCS), herbs, or fruit and homemade Kombucha
Instructions
  1. I sometimes like to second ferment (2F) my Kombucha. My favorite is ginger. It's the right time to second ferment when the Kombucha is ready to bottle. Never do a second ferment using a SCOBY. Before bottling, place the juice, fruit or herb, at the bottom of bottle, then add Kombucha.

    GINGER - I use one teaspoon of fresh, grated, organic ginger and one teaspoon of organic evaporated cane juice for 64 ounces of Kombucha. I tightly cap bottles and leave on counter overnight (sometimes more in the winter). I then strain into another bottle, tightly cap and place in my refrigerator. It's okay to keep ginger in Kombucha until ready to drink.

    FRUIT JUICE - I use 3 ounces of fruit juice for 64 ounces of Kombucha and tightly cap bottles. I leave on counter overnight (sometimes more in the winter). Then I *'burp' the bottles to allow extra gases to escape and place in my refrigerator.

    *Please remember that if Kombucha, or ANY fermented food, is kept too warm it will continue to ferment and can possibly explode. NEVER, EVER shake a bottle of Kombucha! Kombucha can contain small amounts of alcohol. Please check with your doctor before drinking Kombucha.
3.3.3077


Share

Filed Under: Beverages, Fermented Foods, Recipes Tagged With: 2f, 2f kombucha, blueberry kombucha, ginger kombucha, How to second ferment kombucha, Kombucha second ferment

Next Page »

Primary Sidebar

Search

My Metabolic Meals

Delicious and stress-free meals that are: 100% Gluten-free, and contain no artificial flavors, dyes, MSG, soy, wheat, rye, barley, malt, triticale, brewer’s yeast, low-grade proteins, and no processed vegetable oils (like canola, cottonseed, soybean, safflower). They also use grass-fed, grass-finished meats, and wild-caught seafood!!

Check out my Fullscript store!

Follow me on:

Please be advised:

Statements on this website have not been evaluated by the FDA and are NOT intended to diagnose, prescribe, treat, prevent or cure any disease, condition, illness, or injury. Please do not use any information on this website in place of a doctor. Please consult a doctor before making ANY dietary changes. This website is presented for entertainment purposes only.

AFFILIATE DISCLOSURE:

AFFILIATE DISCLOSURE: Throughout this website, you will find affiliate links. Any links you follow may or may not provide remuneration to help me support this website. Please note that any reviews will be honest reviews regardless of monetary compensation. Make Healthier Choices is a participant in the Amazon Services LLC Associates Program, an affiliate advertising program designed to provide a means for sites to earn advertising fees by advertising and linking to Amazon.com.

My Favorite Kitchen Appliance

I use this air fryer every day. I can not only air fry, I can bake, toast, defrost and much, much more.

Archives

  • May 2025
  • March 2025
  • January 2025
  • December 2022
  • October 2022
  • August 2022
  • March 2022
  • September 2021
  • May 2021
  • November 2020
  • January 2020
  • January 2018
  • March 2017
  • February 2017
  • August 2016
  • May 2016
  • April 2016
  • March 2016
  • February 2016
  • January 2016
  • December 2015
  • November 2015
  • October 2015
  • September 2015
  • August 2015
  • July 2015
  • June 2015
  • May 2015
  • Welcome
  • Recipes
  • About Lynn
  • Ingredients & Substitutions
  • Affiliate Disclosure
  • Articles

Copyright © 2025 · Make Healthier Choices · Log in