• Skip to primary navigation
  • Skip to main content
  • Skip to primary sidebar

Make Healthier Choices

Helping people Make Healthier Choices about real-food choices for optimal heath.

SEARCH

  • Home
  • Welcome
  • Free Body Scan
  • My Metabolic Meals
    • My Favorite Metabolic Meals
  • Recipes
    • Beverages
      • Audrey’s Pine Needle Tea
    • Bread
    • Candy
    • Desserts
    • DIY Recipes
      • DIY – Body
      • DIY – Household
      • DIY – Pets
      • Essential OIls
    • Fermented Foods
    • Free Recipes
    • Fruits
    • Main Dishes
      • Katherine’s White Chicken Chili
    • Meats
    • Pet Recipes
    • Salads
    • Sauces
    • Side Dishes
    • Snacks
    • Soup
      • Thai Soup – Immune-Building Soup
    • Spices
    • Vegetables
  • Recipes by Category
    • Gluten-Free
  • Blog
    • Articles
    • Ingredients & Substitutions
    • Reviews
  • About
    • Affiliate Disclosure
    • Contact me
    • Disclaimer
    • How I Overcame Sickness
  • The FUN Stuff
    • Sweepstakes
    • Take a Quiz
    • Free e-Books
  • Save on My Favorite Products
  • V Info

Snacks

Easy Cauliflower Pizza Crust

March 31, 2016 By Recipe Renegade 3 Comments

Share

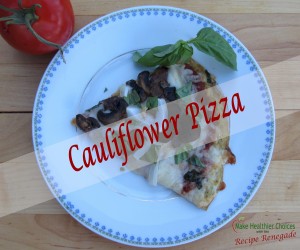
Gluten-Free Cauliflower Pizza Crust

Cauliflower Crust Recipe Renegade

Cauliflower Pizza Crust – the Hard Way

The first time I made cauliflower pizza crust, it took me FOREVER! All my counters were covered with dirty dishes–what a mess! It was a LOT of work, but I’ll admit–it was delicious!

I won’t eat any supermarket vegetables that haven’t first been washed. So after washing the cauliflower: I steamed it on the stove top, cooled it, pulverized it in my food processor, emptied it into a dish/tea towel, squeezed the heck out of it, put it in a bowl, mixed in other ingredients, spread it onto a pan, baked it, flipped it, baked it again, then made it into pizza and baked it again. Aren’t you tired just reading about it???

Skip the Tough Steps

Being able to skip the squeeze-the-heck-out-of-it step, pulverizing in the food processor, and baking instead of steaming all helped save me a LOT of time. Not only are steps skipped, but not having to wash extra pots/pans, etc. saved time. And I have to admit I hated all that nutritious juice going down the drain. If you enjoy a gluten-free lifestyle, but have not yet tried cauliflower pizza crust trust me, it’s worth it! But try it the easier way . . . use a juicer.

Cauliflower Pizza Crust – the Easier Way

If you have a juicer, you’ll find this pizza crust easy to make. I have an Omega NC800HDS (you can see it in action on my You Tube channel), but any juicer will work. Cauliflower juice isn’t exactly my favorite, but you’ll probably want to save the juice. I usually juice a couple of carrots and an apple to go with a small amount of cauliflower juice.

Easy Cauliflower Pizza
 
Save Print
Author: Recipe Renegade
Ingredients
  • For the Crust:
  • 1 Head of Cauliflower
  • 2 Eggs
  • 1 Teaspoon Italian Seasoning
Instructions
  1. Pre-heat oven to 425° F
  2. Remove cauliflower core, cut florets off stem and wash.
  3. Juice cauliflower; set juice aside to drink later.
  4. Place pulp on jelly pan (or cookie sheet).
  5. Bake pulp for 12 minutes.
  6. Remove pulp and let cool for about 5 minutes.
    While cauliflower is cooling:
  7. Place eggs in medium-sized bowl and slightly beat.
  8. Add Italian seasoning.
  9. Once cauliflower pulp has cooled to touch, add to bowl; mix together.
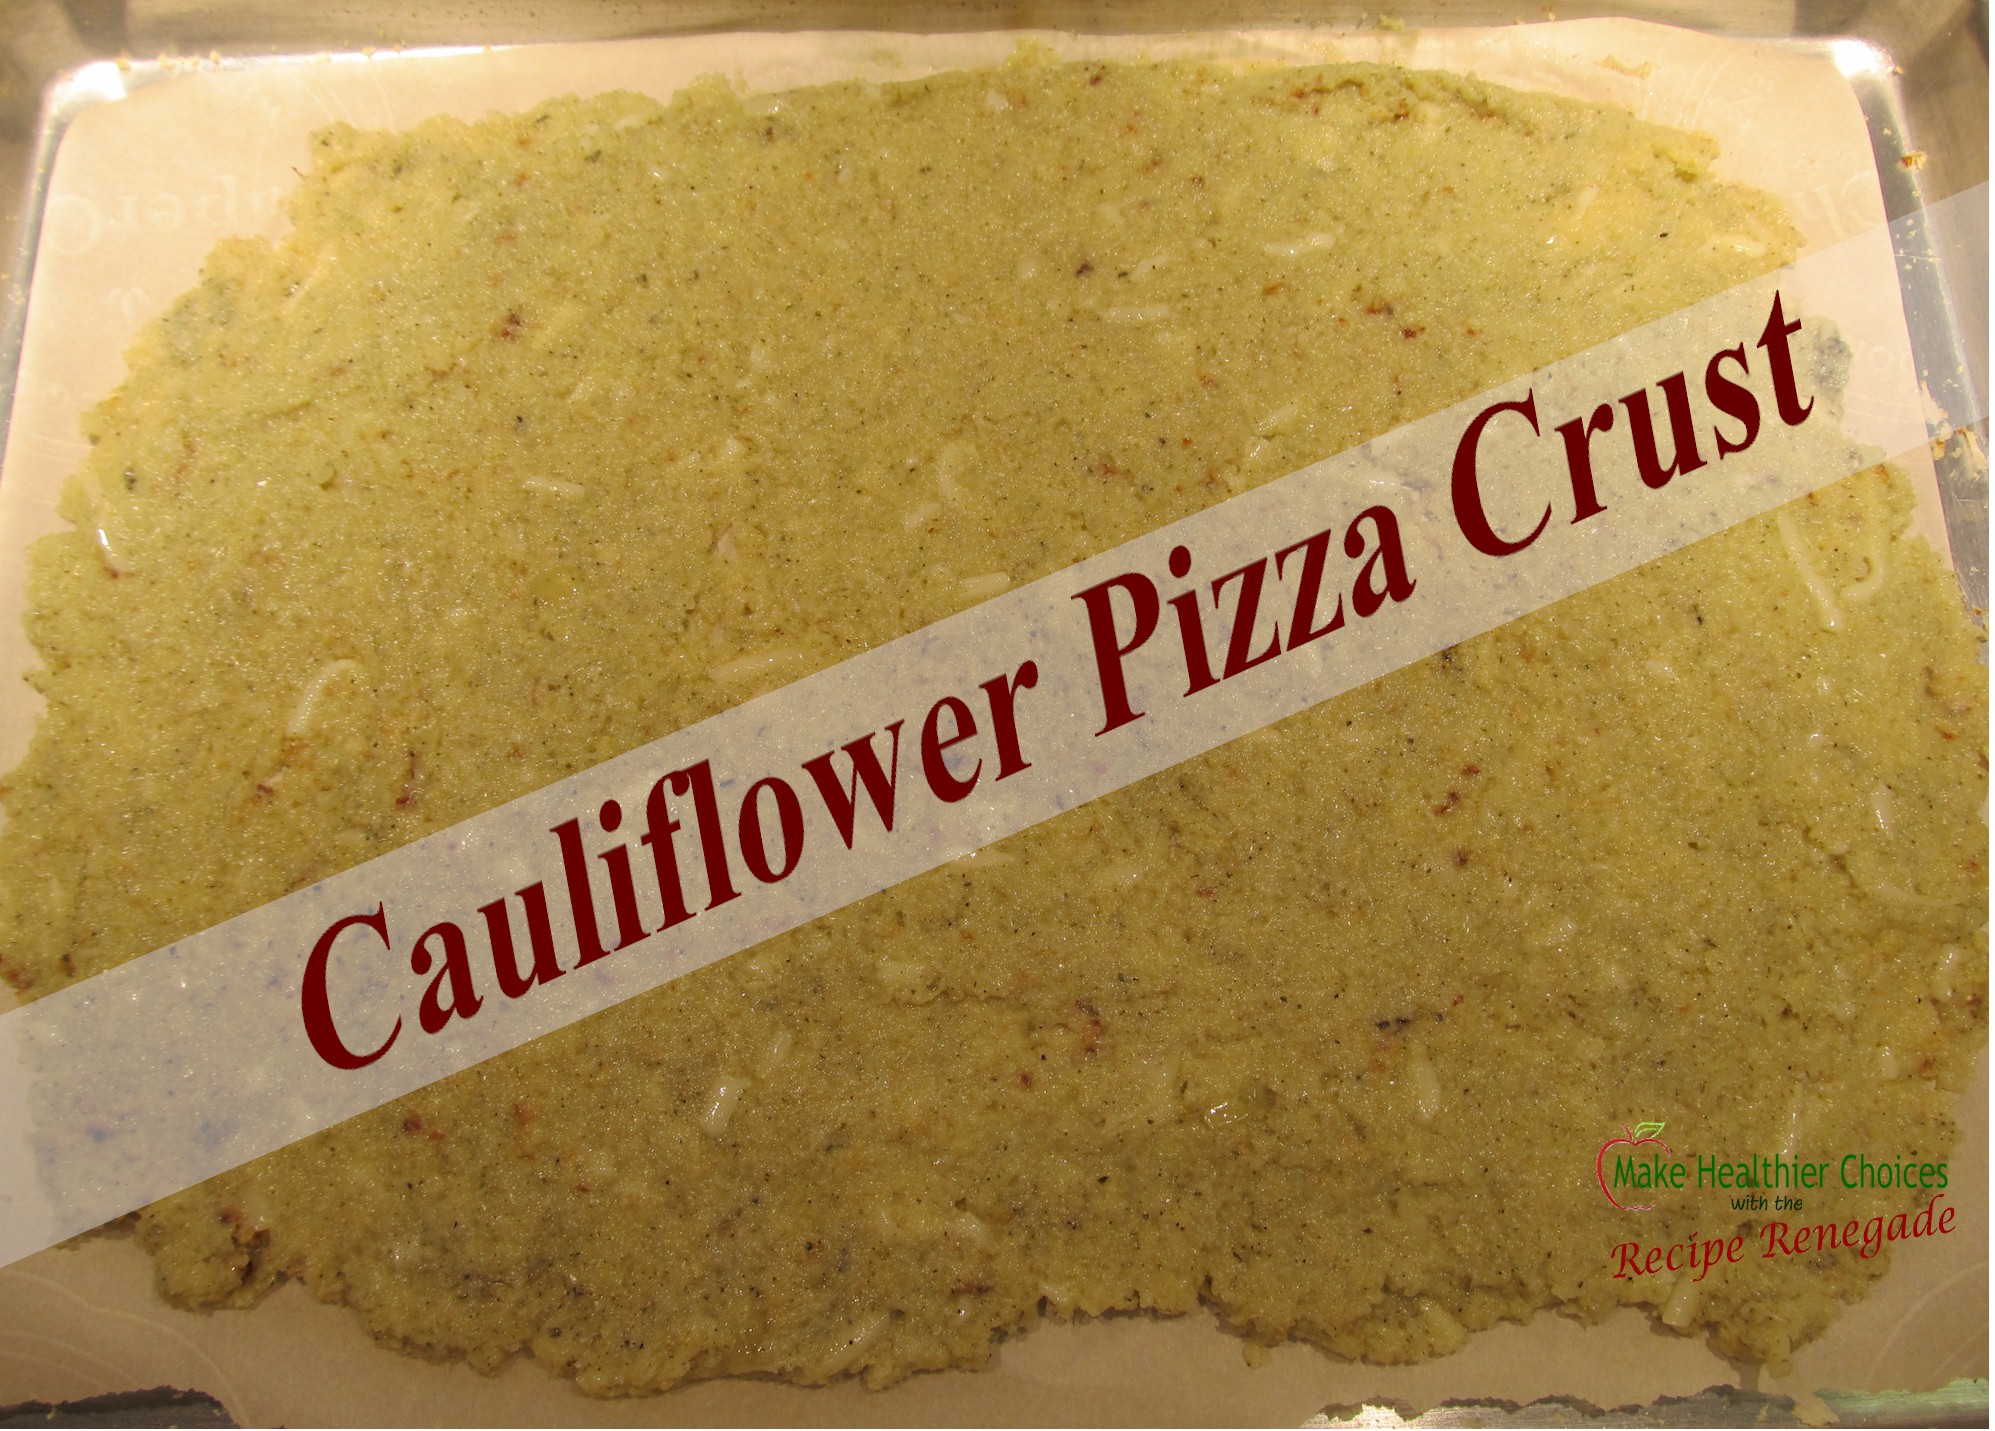
  10. Spread mixture onto silicone-lined jelly pan (or parchment-paper lined jelly pan).
  11. Bake at 425° for 8 minutes.
  12. Flip (I do this by placing silicone mat (or parchment paper) and second jelly pan on top and CAREFULLY and quickly flipping.)
  13. Bake for additional 8 minutes.

    Go here for: Cauliflower Pizza
Notes
Cheese is one of the ingredients in the first recipe I tried. I don't personally use cheese in my crust; I think cheese makes the crust tend to stick to the parchment paper/silicone liner making it easier to flip.
3.5.3208

These crusts freeze nicely. I’ve even frozen the pulp in a vacuum-seal bag. I like to make make it worth dirtying my juicer, so I make three or four at a time and freeze them. I roll mine in waxed paper (parchment paper would also work) and place into a (2.5 gallon) extra-large plastic bag. I allow them to thaw before flattening onto a jelly pan.

Cauliflower Mushroom Pizza MHC RR


Share

Filed Under: Gluten-Free, Main Dishes, Recipes, Snacks Tagged With: gluten free pizza crust, how to make cauliflower pizza crust, pizza crust

Cauliflower Pizza

March 31, 2016 By Recipe Renegade 1 Comment

Share

Gluten-Free Cauliflower Pizza

Cauliflower Mushroom Pizza MHC RR


Cauliflower Pizza
 
Save Print
Author: Recipe Renegade
Ingredients
  • One Cauliflower Pizza Crust
  • 15 Oz. of Your favorite Tomato Sauce
  • ¾ to 1½ Cups Shredded Cheddar Cheese
  • ¾ to 1½ Cups Shredded Mozarella Cheese
  • Your Favorite Pizza Toppings
Instructions
  1. Top Cauliflower Pizza Crust with tomato sauce, cheese and your favorite toppings.
  2. Bake on jelly pan at 450° F for 10 minutes or until cheese is melted.
Notes
I topped my pizza with diced onions, pre-cooked sliced mushrooms and basil. It was delicious!
3.5.3208

Find my Cauliflower Pizza Crust here:

Cauliflower Pizza Crust


Share

Filed Under: Gluten-Free, Main Dishes, Snacks Tagged With: Cauliflower Pizza, how to make cauliflour pizza crust, How to make cauliflower Pizza

Tom’s Red Pepper Hummus

October 14, 2015 By Recipe Renegade Leave a Comment

Share
Tom's Red Pepper Hummus
Tom’s Red Pepper Hummus

I have not yet found a store-bought hummus I can eat. Unfortunately, I can always taste the preservatives. I know, that’s probably a bit odd, but it might be a good thing.

This hummus is quick and easy to make. Everything goes into a food processor, except the red-pepper garnish. Give it a spin and you’re done!

Tom's Red Pepper Hummus
 
Save Print
An exceptionally easy hummus to make.
Author: Recipe Renegade
Ingredients
  • 2 Cans Chick Peas
  • ¼ Cup Olive Oil
  • Juice of ½ Lemon
  • ½ cup Tahini
  • 2 Teaspoons Powdered Garlic
  • 3 to 4 Roasted Red Peppers (about ½ of a 16 ounce jar)
  • ½ teaspoon Himalayan Salt
  • OPTIONAL - ½ teaspoon Cumin
  • OPTIONAL - 1 small Jalapeno - stem removed, cut in half and de-seeded
Instructions
  1. Drain and thoroughly rinse Chick Peas (Garbanzo Beans).
  2. With knife blade in bowl place all ingredients, excluding one roasted red pepper, into food processor. (If using cumin and Jalapeno, add now.)
  3. Process until completely mixed.
  4. Remove from processor and place in bowl.
  5. Chop remaining red pepper and stir into hummus or place on top as garnish.
Notes
Traditional hummus usually includes cumin. Since I'm not personally a fan of cumin, I've made ½ teaspoon optional. Not everyone is a fan of jalapenos and this recipe tastes delicious with or without the jalapenos.
3.3.3077


My very first experience with Chick Peas was when someone told me about a delicious tossed salad that included Chick Peas. I think it had spinach, Chick Peas and balsamic vinegar. Beyond that, I don’t remember the recipe. I had never heard of Chick Peas (yes it was many, MANY years ago). I bought some during my next grocery-shopping excursion and tucked them safely away in my pantry for later use.

Weeks later, I finally decided to make that salad. I went to my pantry and looked and looked only to find Garbanzo Beans. those Garbanzo Beans sat in my pantry for probably months as I wondered how I could have purchased Garbanzo Beans instead of the Chick Peas I was looking so forward to adding to the salad.

When I finally cleaned out my pantry a month or two later and found the Chick Peas. As I turned around the can of Garbanzo Beans, there on the other side I found, “Chick Peas.” That is when I learned that Garbanzo Beans and Chick Peas are one and the same. Garbanzo Beans are to Chick Peas like Coriander Leaves are to Cilantro! I only learned that cilantro is the leaves of the coriander plant, when I became a gardener.

Share

Filed Under: Gluten-Free, Recipes, Snacks Tagged With: are garbanzo beans and chick peas the same?, Delicious and easy-to-make red pepper hummus., garbanzo beans and chick peas, How to make quick and easy red pepper hummus

Zucchini Chips

August 5, 2015 By Recipe Renegade 3 Comments

Share

Tired of zucchini bread? Don’t live in Vermont so you can’t stash your extra zucchini through open windows in random cars?  Well, at least not without getting arrested. Looking for new ways to eat zucchini? If you have an over abundance of zucchini, a better way to get rid of them is to preserve them by dehydrating. This works well with any type of summer squash—zucchini, patty pan, crook neck, straight neck, etc. Especially zucchini. These chips are a healthy snack and great for dips like salsa, guacamole, onion dip, etc. They can also be crumbled into soups on a cold, fall or winter day.

Zucchini Chips Recipe Renegade


5.0 from 1 reviews
Zucchini Chips
 
Save Print
These zucchini chips are great to use for dips - salsa, onion dip, guacamole, etc.
Author: Recipe Renegade
Ingredients
  • Zucchini (however many you can fit in your dehydrator)
  • Himalayan Salt
Instructions
  1. Slice zucchini about 3/16" thick.
  2. Lightly salt.
  3. Place in dehydrator and run at 135° for approximately 10 to 12 hours or until completely dried.
  4. Store in tightly sealed bag with desiccant.
3.3.3077

After dehydrating, I place my chips into a vacuum-seal bag. Leaving it full of air, I add a desiccant, and seal without first vacuuming.

Please note: These chips need to be cut the correct width. If they are cut too thin they will stick to the trays and be hard to remove. If they are too thick, they will not be chip-like and slightly tough. If they’re too big or small, keep them for winter soups.

Share

Filed Under: Gluten-Free, Recipes, Snacks, Vegetables

Lynn’s Onion Dip

May 10, 2015 By Recipe Renegade Leave a Comment

Share

What better way to make onion dip than with healthful, natural ingredients?  Only four ingredients are necessary to make this delicious onion dip.

Onion Dip Recipe Renegade

Lynn's Onion Dip
 
Save Print
Prep time
2 mins
Cook time
10 mins
Total time
12 mins
 
What better way to make onion dip than with healthful, natural ingredients? Only four ingredients are necessary to make this delicious onion dip.
Author: Recipe Renegade
Recipe type: Snack
Serves: 1 cup
Ingredients
  • 1 Cup Yogurt
  • 3 Tablespoons Minced Onion
  • 2 Teaspoons Onion Powder
  • ½ teaspoon Himalayan Salt
  • *Optional - Chives
Instructions
  1. In a small bowl, mix all together. Let sit for about 10 minutes. That's it!

    *Optional - Snip chives onto top of dip for a garnish.
3.3.3077


Share

Filed Under: Gluten-Free, Recipes, Snacks Tagged With: all natural onion dip, Easy, healthy onion dip, home made onion dip, homemade onion dip, oniondip, potato chip dip, vegetable dip

Primary Sidebar

Search

Fullscript

You'll automatically receive 20% off your account at my Fullscript Dispensary.

My Metabolic Meals are: 100% Gluten-free, and contain no: artificial flavors or dyes, MSG, soy, wheat, rye, barley, malt, or triticale, Brewer’s yeast, low-grade proteins, processed vegetable oils.

Follow me on:

Please be advised:

Statements on this website have not been evaluated by the FDA and are NOT intended to diagnose, prescribe, treat, prevent or cure any disease, condition, illness, or injury. Please do not use any information on this website in place of a doctor. Please consult a doctor before making ANY dietary changes. This website is presented for entertainment purposes only.

AFFILIATE DISCLOSURE:

AFFILIATE DISCLOSURE: Throughout this website, you will find affiliate links. Any links you follow may or may not provide remuneration to help me support this website. Please note that any reviews will be honest reviews regardless of monetary compensation. Make Healthier Choices is a participant in the Amazon Services LLC Associates Program, an affiliate advertising program designed to provide a means for sites to earn advertising fees by advertising and linking to Amazon.com.

My Favorite Kitchen Appliance

I use this air fryer every day. I can not only air fry, I can bake, toast, defrost and much, much more.

Archives

  • May 2025
  • March 2025
  • January 2025
  • December 2022
  • October 2022
  • August 2022
  • March 2022
  • September 2021
  • May 2021
  • November 2020
  • January 2020
  • January 2018
  • March 2017
  • February 2017
  • August 2016
  • May 2016
  • April 2016
  • March 2016
  • February 2016
  • January 2016
  • December 2015
  • November 2015
  • October 2015
  • September 2015
  • August 2015
  • July 2015
  • June 2015
  • May 2015
  • Welcome
  • Recipes
  • About Lynn
  • Ingredients & Substitutions
  • Affiliate Disclosure
  • Articles

Copyright © 2025 · Make Healthier Choices · Log in