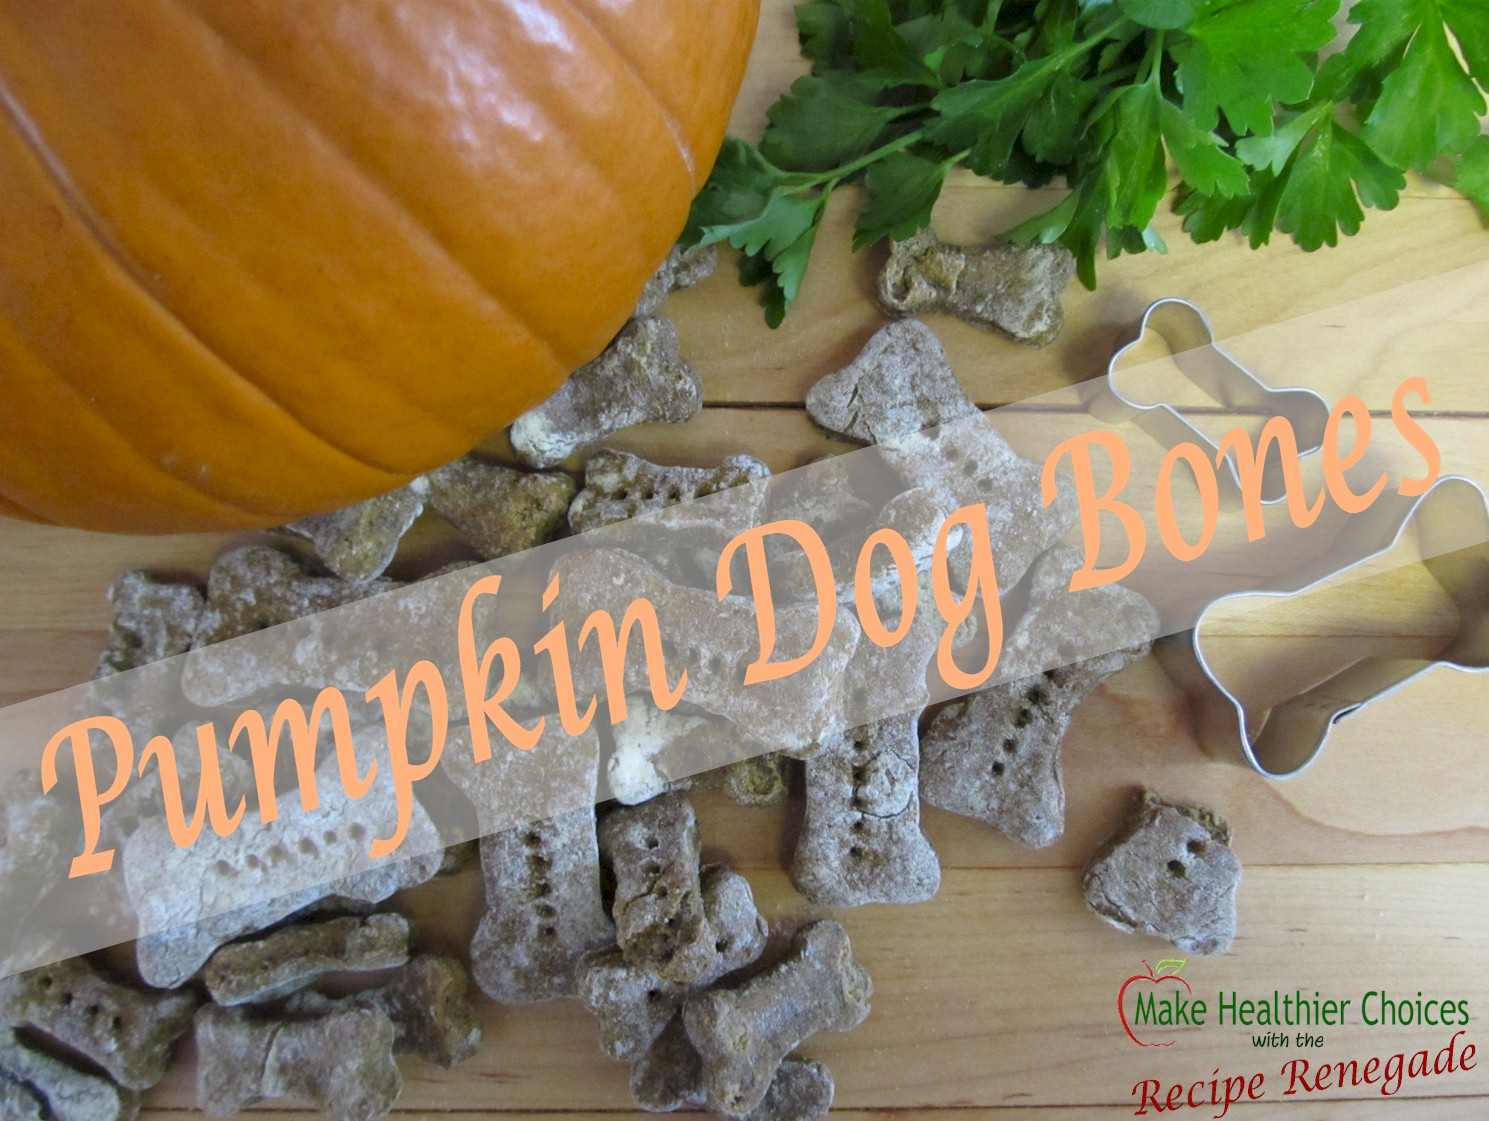

Rey-Rey’s Favorite Gluten-Free Dog Bones

It would surprise me if your dog didn’t like these dog bones. My picky dog loves these nutritious treats. I feed nothing to my dog that I wouldn’t eat myself. Because I don’t eat propylene glycol, caramel color, or sodium nitrate—common ingredients found in many dog treats—I make my own. Weighing in at less than ten pounds, means I can afford to give her real food like: pumpkin; chicken; beef; carrots; green beans; sweet potatoes; valencia peanut butter; and Zija’s Supermix (moringa oleifera). I expect my veterinarian bills to be less, especially for her teeth. Dr. Weston Price traveled the world to learn what causes cavities; he found nutritional deficiencies to be the culprit (not bacteria).
All Real Food
These dog treats contain both nutritional yeast and brewer’s yeast. My father always gave our family dog brewer’s yeast to keep fleas away. I’ll assume it’s true, because I never saw one flea on that dog.
This recipe also contains garlic or onion powder. According to Dogs Naturally magazine, onions and garlic are okay in small amounts. In fact, a veterinarian told me the only real thing I need to worry about is Xylitol, which will quickly kill a dog. I’m also not so sure Xylitol is good for humans, either. Read more about Xylitol here: Xylitol.

- 1 Cup
Brown Rice Flour - 1 Cup Freshly Ground Oat Flour
- ¾ Cup Freshly Ground Flaxseed
- 2 Tablespoons Nutritional Yeast
- 2 Tablespoons Brewer’s Yeast
- ½ Teaspoon Garlic Powder or Onion Powder
- 1 Teaspoon Parsley
- 1 Teaspoon Baking Soda
- 1 16-Ounce Package Pumpkin
- 1 Slightly Beaten Egg
- About ½ Cup Liquid--bone broth, apple juice, apple cider, or water. PLEASE NOTE: Liquid might not be needed depending on how much liquid is in the pumpkin.
- Add all dry ingredients to mixing bowl (stand mixer works great)
- Mix thoroughly.
- Add pumpkin and egg.
- Mix.
- Add only enough liquid to make into a ball.
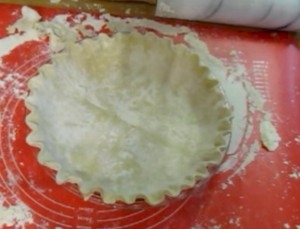
- Roll out onto floured pastry board.
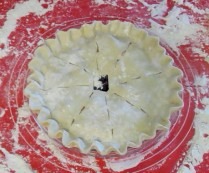
- Use cookie cutter to cut into dog bones or cut into squares.
- Bake at 350° for 25 minutes.
- Flip bones over and bake for 25 more minutes.
- Reduce oven to 175° and bake for 6 to 8 hours or dry in a dehydrator overnight at 155° or until completely dry.
- Bake/dehydrate longer if necessary making certain bones are completely dry. (Moisture left in bones will cause them to spoil quicker.)
- Store in airtight container.
QUICKER-An even quicker way to make these is to roll out onto parchment paper and cut into small pieces after transferring paper/dough to jelly pan. It's not necessary to cut all the way through; they'll break apart easily.
Please Be Sure To Properly Dehydrate
As with any dry dog treat, beware that they can be a choking hazard, especially if they are too large. Please give them small, bite-size pieces appropriate for your size dog.
Did you know you can get a dog bone cookie cutter with your dog’s name personalized on it? Personalized Dog Bone Cookie Cutter.
When I don’t have time to make these, I purchase made-in-New-Hampshire Casey Jones Bones. In my local area they sell for about $5.99/box.
Source: How To Detox Your Dog