• Skip to primary navigation
  • Skip to main content
  • Skip to primary sidebar

Make Healthier Choices

Helping people Make Healthier Choices about real-food choices for optimal heath.

SEARCH

  • Home
  • Welcome
  • Free Body Scan
  • My Metabolic Meals
    • My Favorite Metabolic Meals
  • Recipes
    • Beverages
      • Audrey’s Pine Needle Tea
    • Bread
    • Candy
    • Desserts
    • DIY Recipes
      • DIY – Body
      • DIY – Household
      • DIY – Pets
      • Essential OIls
    • Fermented Foods
    • Free Recipes
    • Fruits
    • Main Dishes
      • Katherine’s White Chicken Chili
    • Meats
    • Pet Recipes
    • Salads
    • Sauces
    • Side Dishes
    • Snacks
    • Soup
      • Thai Soup – Immune-Building Soup
    • Spices
    • Vegetables
  • Recipes by Category
    • Gluten-Free
  • Blog
    • Articles
    • Ingredients & Substitutions
    • Reviews
  • About
    • Affiliate Disclosure
    • Contact me
    • Disclaimer
    • How I Overcame Sickness
  • The FUN Stuff
    • Sweepstakes
    • Take a Quiz
    • Free e-Books
  • Save on My Favorite Products
  • V Info

Archives for August 2015

My Head-Lice Story

August 27, 2015 By Recipe Renegade 2 Comments

Share


Nurse Chalkboard Escaped

If you have a young child, you probably know by now that head lice are becoming immune to treatments. Considering it’s back-to-school time, you might be starting to panic. So here’s my head-lice story:

One beautiful summer day (and many years ago), a young girl came to stay with us. Her parents were leaving on vacation and dropped her off directly after picking her up from summer camp.

Shortly after the young girl went home after her two-week stay, my phone rang. On the other end was her mother, “My daughter has head lice.” She didn’t sound too happy, but I think I almost fell over. I don’t like bugs and I certainly didn’t like the thought of head lice! I grabbed my daughter, scrutinized her hair and head and found nothing. Checked my husband’s. Nothing. Mine. Nothing. Surely, if her daughter had head lice, my daughter, I or my husband would have head lice, right? I was in disbelief and didn’t think it possible.

I jumped in my car and drove, about 20 minutes away, to her house. There they were. Her daughter sat having her hair combed out, after being washed with that toxic shampoo. I could see the different stages of dead lice sitting on top of her wet hair. (Kind of like those three different generations of squash bugs I found and eradicated in my garden yesterday – ick.) Oh my gosh, I thought, she’s been in my house for two weeks! I was horrified!

How could it be that this young girl, who slept in the same bedroom for two weeks with my daughter, had a major infestation of head lice, while the rest of us had none. Don’t get me wrong—we all did that sure-to-dry-out-anyone’s-hair lice shampoo thing and I spent an entire day at the laundromat. All the clean clothes and bedding sat in my car while I went through the entire house with my vacuum cleaner—never seeing a single louse.

I don’t know about you, but I’m starting to itch! Little Boy Scratching Head


Then, one day I realized that every household product including my laundry detergent, shampoo, conditioner and body soap contained tea tree oil. All the products came from a company that put tea tree oil in virtually all their products. There isn’t any other explanation that makes sense as to why those little buggers stayed put, except, plain and simple, bugs do not like tea tree oil. This happened many years ago and before I understood the amazing power of essential oils.

If I had a young child who could potentially bring home head lice, I’d surely be putting tea tree oil in their (and my) shampoo and conditioner and probably even in body soap and laundry detergent. I’d be spraying it in their hats, too. If you decide to use tea tree oil, DO NOT LET THE OIL GET INTO THE EYES!!!

If you’re interested in using clinical-grade (meaning they are guaranteed to have the same constituents as those used in clinical trials) essential oils that are microbial tested and heavy metal tested, please check out Améo Essential Oils. Contact me with any questions you may have and before ordering so I can help you get the best price: lynn at makehealthierchoices.com .

UPDATE – February 12, 2016  – I just came across this article that mentions using coconut oil for lice. I’ve never tried it (hope I never have to) but thought it might be worth a try, especially if it’s mixed with a little clinical-grade tea tree essential oil.

Share

Filed Under: Articles, Blog Tagged With: Head lice alternative treatment, how to get rid of lice, lice treatment won't work, what to do for lice

Coleslaw

August 25, 2015 By Recipe Renegade Leave a Comment

Share

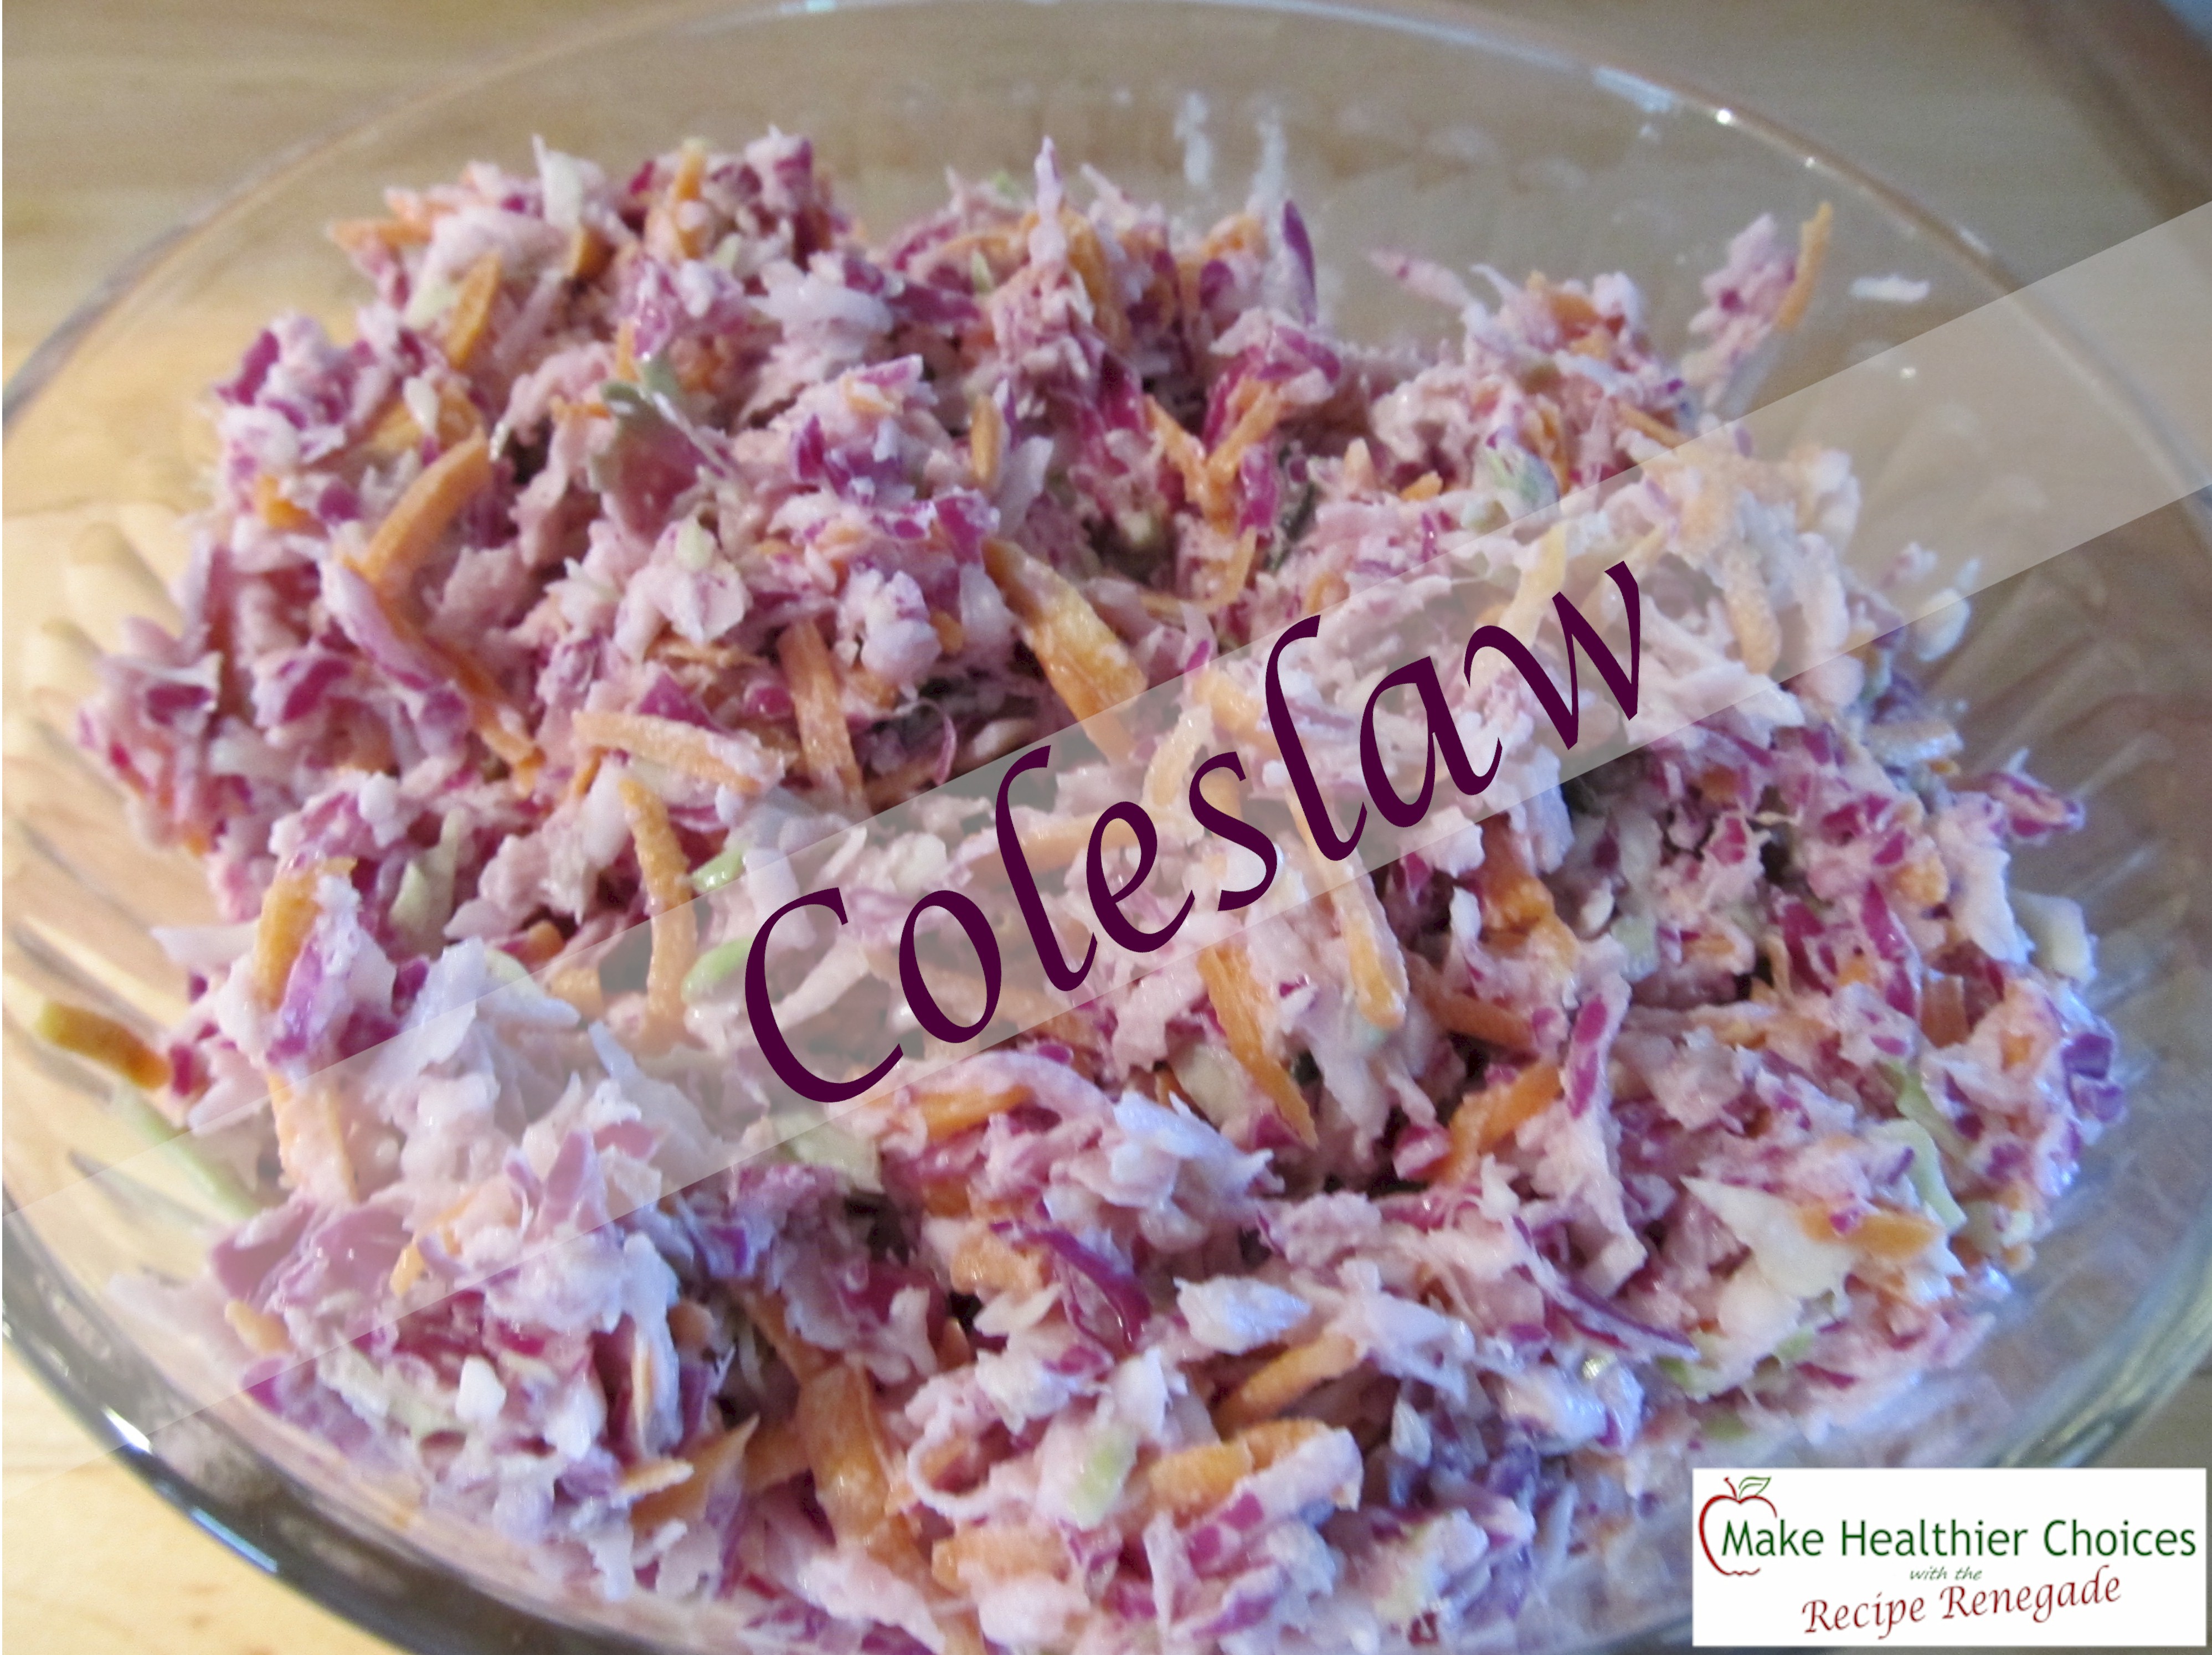
Instead of using one head of cabbage when making coleslaw, I usually use two, half-heads – one red and one green. Using two colors is strictly for looks; I’ve never noticed a difference in taste based on different colors. The two remaining halves are cut into strips and placed in a bowl for sauerkraut. (More on that later.)

Coleslaw Recipe Renegade


Coleslaw
 
Save Print
Great for picnics!
Author: Recipe Renegade
Ingredients
  • 1 Cored and Shredded Cabbage (or two halves of different colors)
  • 4 Medium-Size, Shredded Carrots
  • ½ Medium-Size Onion, Diced or Shredded
  • 2 Tablespoons Tarragon Vinegar
  • ¾ Cup Mayonnaise +/-
  • 1½ Tablespoons Evaporated Cane Juice
  • 1 Teaspoon Garlic Powder
  • 1 Teaspoon Onion Powder
  • ½ Teaspoon Himalayan Salt
  • ¼ Teaspoon Freshly Ground Black Pepper
Instructions
  1. Mix together ½ cup mayonnaise, cabbage, carrots, onion, vinegar,evaporated cane juice, garlic powder, onion powder, salt, and pepper. Depending on size of cabbage, all the mayonnaise might not be necessary or a little more might be required. Add remaining mayonnaiseif needed.
3.3.3077

I’ll let you in on a little secret about me: I can’t give up mayonnaise. No matter how hard I try, it’s not happening. The next best thing is to buy the healthiest version or make my own. Coming soon – my mayonnaise recipe!


Share

Filed Under: Gluten-Free, Recipes, Side Dishes Tagged With: cabbage, carrots, coleslaw, good salad for picnic, how to make cabbage salad

My 3 Favorite Ways to Eat Zucchini

August 20, 2015 By Recipe Renegade Leave a Comment

Share


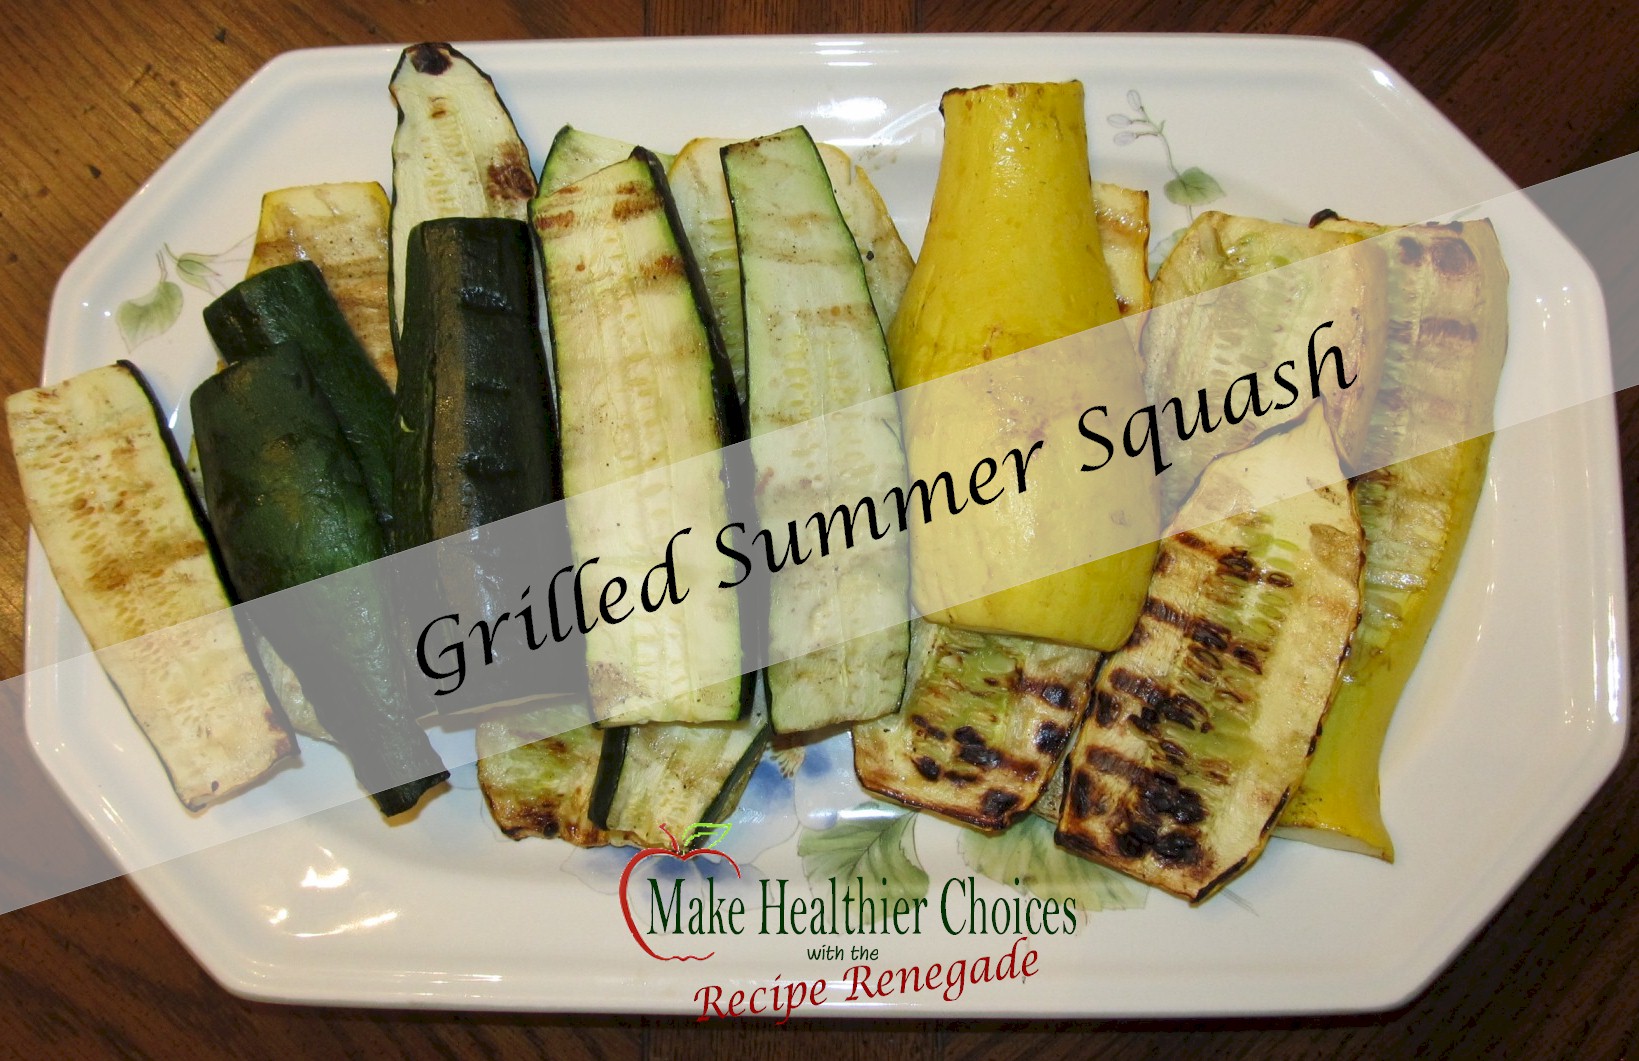
Grilled Summer Squash

Summer Squash Recipe Renegade


Zucchini Chips

Zucchini Chips Recipe Renegade

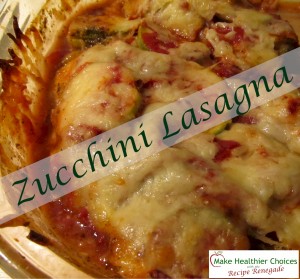
Zucchini Lasagna (Casserole)

Zucchini Lasagna Recipe Renegade

Share

Filed Under: Blog, Gluten-Free, Main Dishes, Recipes, Side Dishes, Vegetables

Zucchini Lasagna (Casserole)

August 19, 2015 By Recipe Renegade 1 Comment

Share

This recipe was created of necessity on a hot summer day. Working in my garden all day I needed a quick, easy recipe I could pop into the oven to cook while I continued to work outside. I assessed ingredients on hand and created this delicious casserole. I was short on mozzarella cheese, so I added cheddar. A sharp cheddar is the key to this flavorful lasagna. This has become our favorite “Meatless-Monday Meal” during the summer.

I’m not calling this a “vegetable lasagna” because both zucchinis and tomatoes are fruit. Take our Are You Smarter than a Turnip? quiz to see if you know the difference between a fruit and a vegetable.

Zucchini Lasagna Recipe Renegade

If possible, use fresh tomatoes. Considering this recipe uses canned tomatoes, it’s not too terribly high in the sodium department. If rBGH-free cheese (especially if it’s goat cheese) is available, tomatoes are organic/cans BPA-free, and remaining ingredients are organic, this makes a “relatively” healthy meal with less than 1/3 RDA of sodium per serving. Fresh tomatoes reduce the sodium even further. Although this takes about an hour to cook, it only takes about 10 minutes to put together and get into the oven.

Zucchini Lasagna (Casserole)
 
Save Print
Delicious no-meat lasagne.
Author: Recipe Renegade
Ingredients
  • 4 average-size Zucchini
  • 1 28 oz. Can Tomatoes (diced) or 28 oz. Fresh Tomatoes
  • 1 6 Oz. Can Tomato Paste
  • 2 Tablespoons Muscovado (or Evaporated Cane Juice)
  • 1 Tablespoon Italian Seasoning
  • 3 Cups Shredded Sharp Cheddar Cheese
  • 4½ Cups Shredded, Aged Mozzarella
Instructions
  1. Slice zucchini into ⅛" slices (vertical or horizontal) and set aside.
  2. In medium-size bowl mix together: tomatoes, tomato paste, muscovado and Italian seasoning.
  3. Spread (about ¾ cup) tomato mixture on bottom of 13 x 9 casserole dish.
  4. Add a layer of zucchini.
  5. Spread (about ¾ cup) tomato mixture on top of zucchini.
  6. Add 1 cup cheddar and 1½ cups mozzarella evenly over tomato mixture.
  7. Add two more layers of zucchini, tomato mixture and cheeses.
  8. Cover with aluminum foil and bake at 400° for 45 minutes.
  9. Uncover and bake an additional 10 minutes or until top is slightly browned.
3.5.3208

Please note: Salt is not needed as the cheese and canned tomatoes contain salt. The cheddar cheese can be omitted, but it adds a LOT of flavor! The next time I make this, I might substitute nutritional yeast for the cheese. Makes about 9 good-size servings.

Share

Filed Under: Fruits, Gluten-Free, Main Dishes, Recipes, Side Dishes, Vegetables Tagged With: cheddar cheese lasagna, quick easy zucchini meal, running out of ways to cook zucchini, vegetable lasagna, ways to eat lasagna, zucchini lasagna

Italian Seasoning

August 12, 2015 By Recipe Renegade 4 Comments

Share

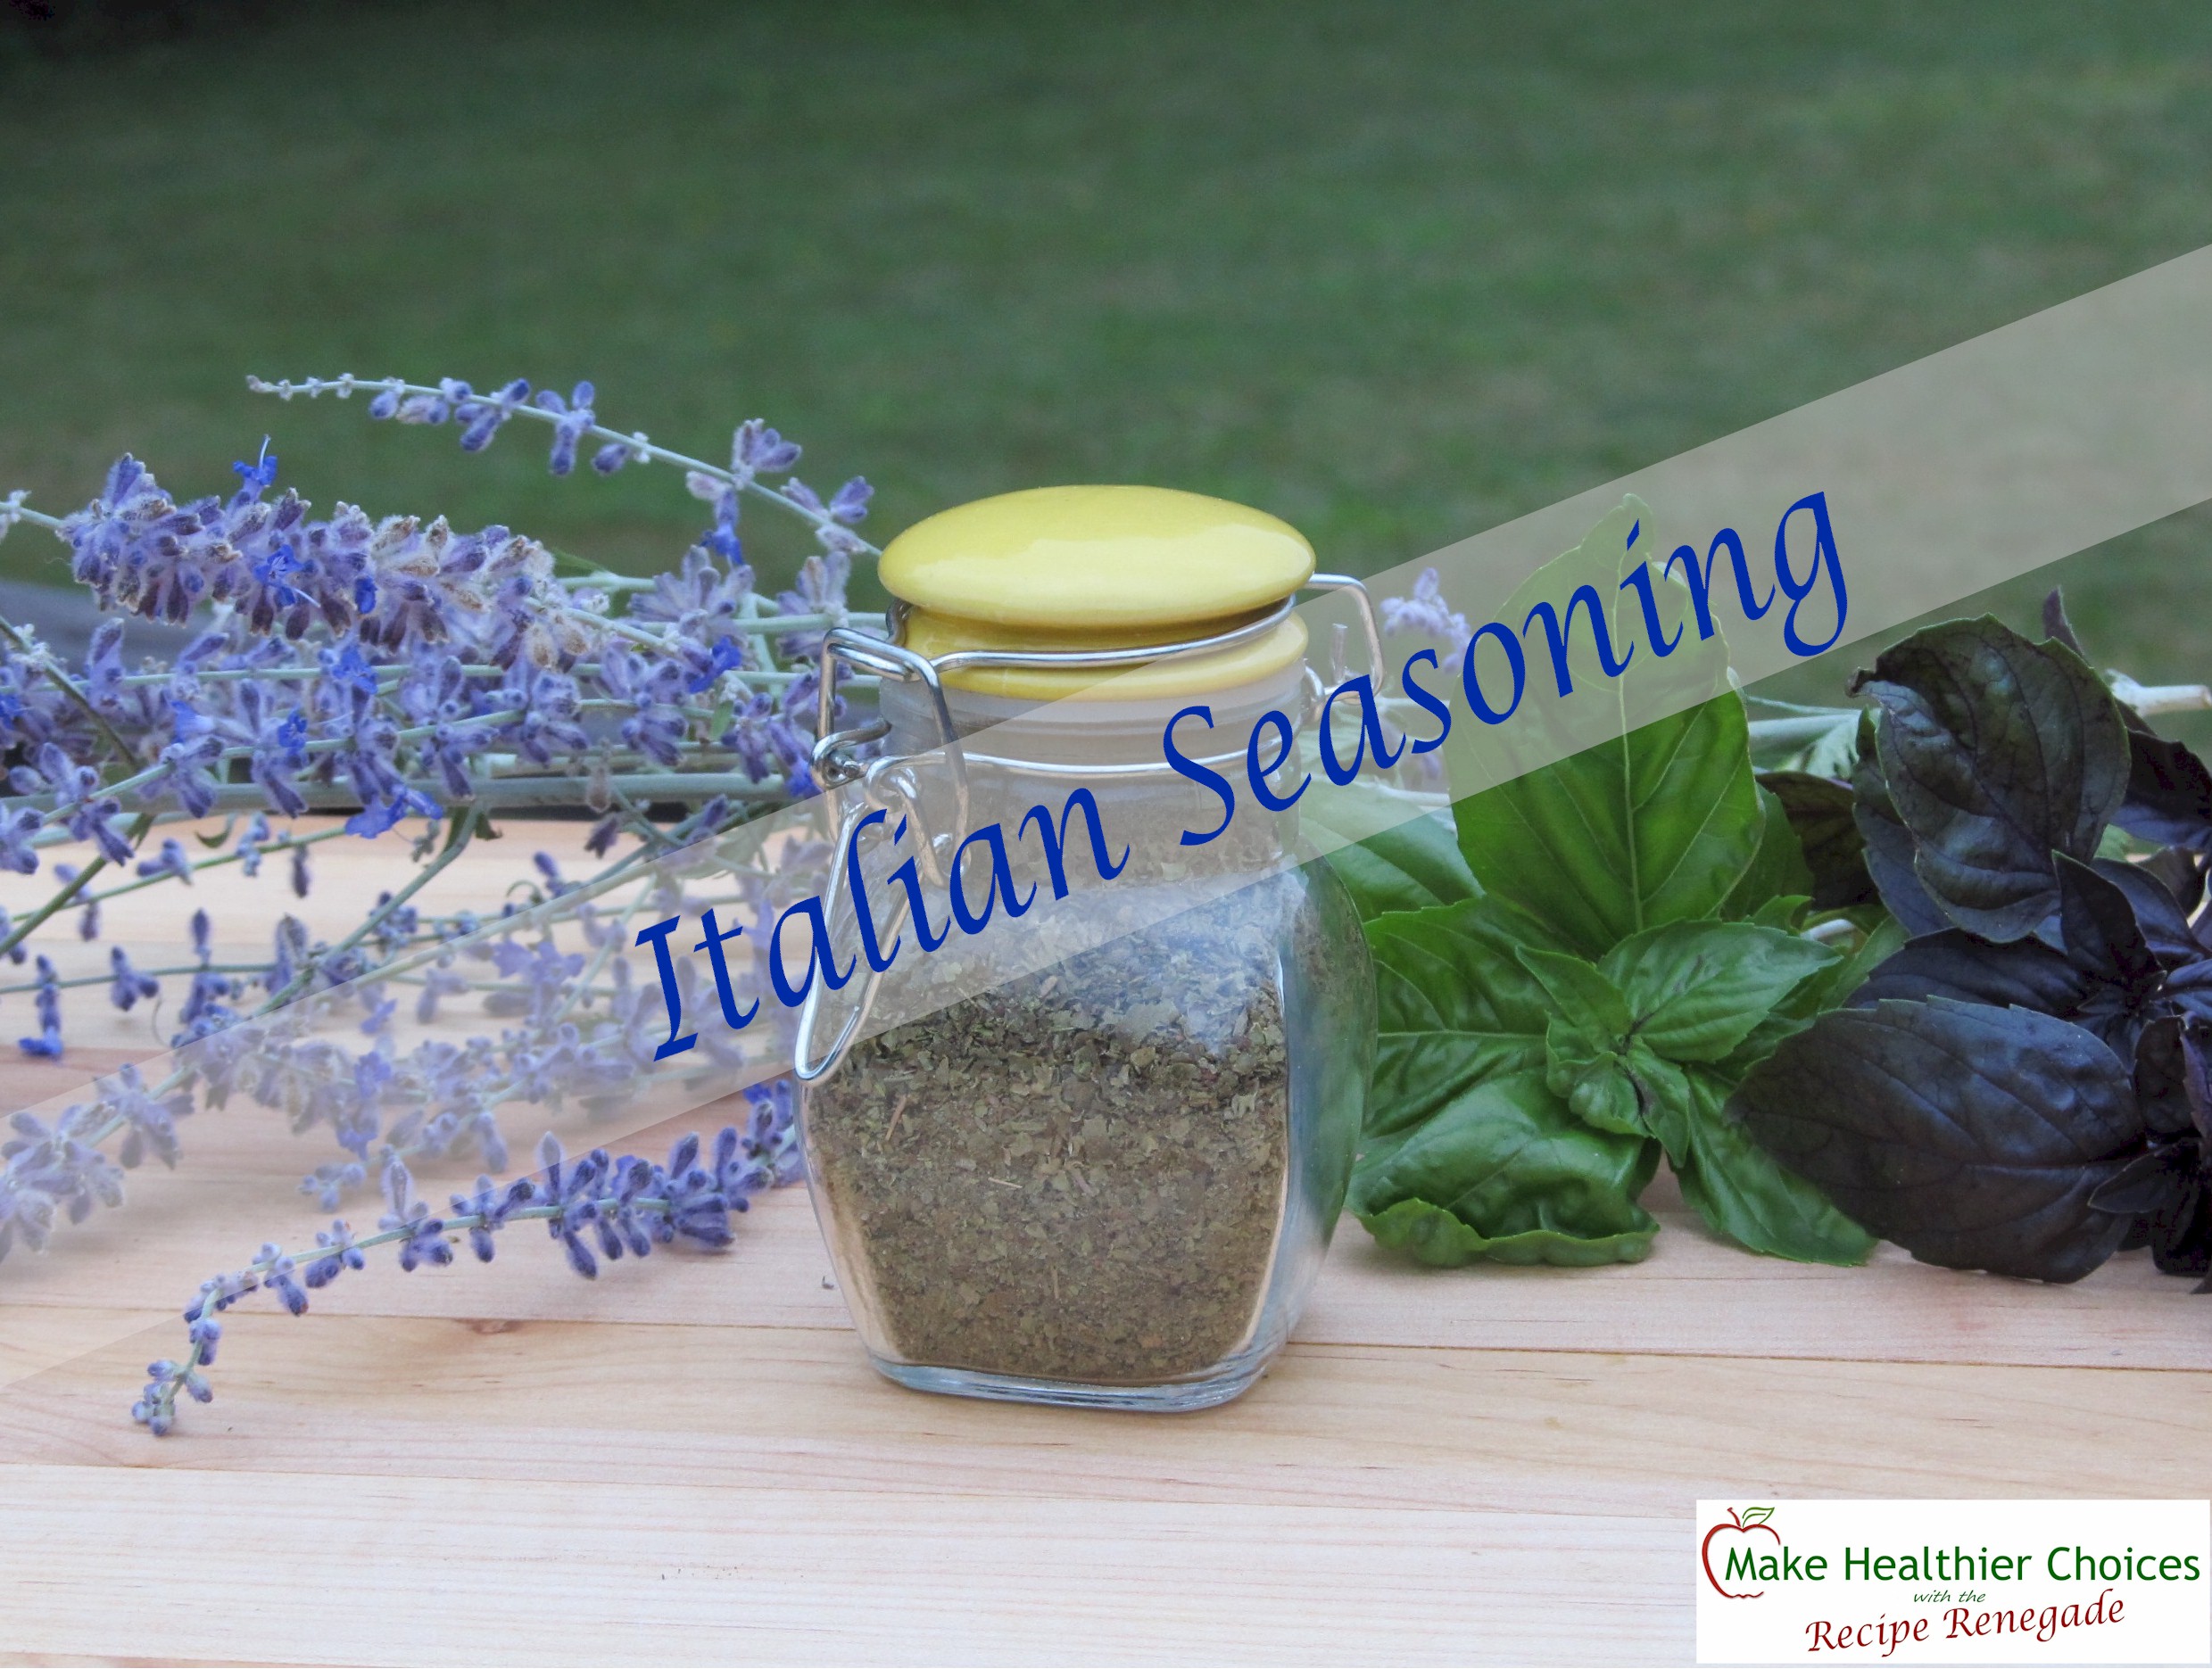
I LOVE basil, but I’m not real fond of oregano. I use 1/2 part oregano and 1 1/2 parts basil in this recipe. You might want to adjust the quantity of these seasonings to your own taste.

Italian Seasoning 2 Recipe Renegade


Italian Seasoning
 
Save Print
Author: Recipe Renegade
Ingredients
  • 1 Part Sage
  • 1 Part Marjoram
  • 1 Part Basil
  • 1 Part Oregeno
Instructions
  1. Mix all herbs together and store in airtight jar.
3.3.3077


Share

Filed Under: Gluten-Free, Recipes, Spices Tagged With: home made Italian seasoning, how to make Italian seasoning, marjoram, oregeno, sage, spice with basil

Learn about Kombucha

August 6, 2015 By Recipe Renegade 3 Comments

Share

Learn about Kombucha Recipe Renegade

Kombucha is a delicious beverage made by fermenting sweet tea. It is acidic with a slight vinegar taste.  An Internet search yields a wealth of information regarding Kombucha, its origins and nutritional benefits. I like fermenting for food preservation, good bacteria (probiotics) and additional nutrients. Fermented foods are pre-digested and easier on our digestive systems.

Some companies add sugar after the Kombucha is fermented making it more palatable. I like to stay away from those brands and prefer making it myself.

Making Kombucha requires a culture called a SCOBY. SCOBY is an acronym for Symbiotic Colony of Bacteria and Yeast. The SCOBY, also known as “mother,” “mushroom,” or “pancake,” does the fermenting. Sugar feeds the SCOBY and should be eliminated, or at least almost eliminated, when the fermenting is complete. Once fermented, it will no longer taste like tea and there will be a new (second SCOBY) on top. Use the new SCOBY for the next batch and store the old SCOBY in a closed glass jar in the refrigerator for another batch, Kombucha Kandy, or give to a friend!

When this new SCOBY begins to form, it will make bubbles. These bubbles can easily be mistaken for mold. If mold does form, the entire batch needs to be thrown out. Be patient. Don’t be too quick to dispose of your first batch; wait and see if the “mold” turns into a SCOBY. I threw out my first batch of Kombucha mistaking the SCOBY bubbles for mold. If you think you have mold, ask an expert. If in doubt, yes, throw it out.

If you’re lucky enough to know someone who makes Kombucha, you might score a free SCOBY. It’s also possible to grow one with commercial Kombucha if it contains probiotics. Place it in a jar, cover with a paper towel, place rubber band around opening to keep out flies, etc., place on counter and wait. If all goes well and depending on weather, a new SCOBY will have formed in about 10 days. If a new one doesn’t grow, there are no live cultures or the conditions aren’t right.

Some people strain the brown yeast from their Kombucha. Unless there’s a large amount floating around, it doesn’t bother me. Even though that ugly brown stuff is yeast and not bacteria, it is beneficial for the gut. You can read more about good yeasts and probiotics here: Probiotics and Fermented Food

Please properly rinse and remove all detergent residues from any containers, utensils, etc. before using for Kombucha, as detergent can kill the SCOBY. Chlorine and honey can also kill the SCOBY since they have antibacterial properties. City water that contains chlorine will not work unless the chlorine is first removed. Keep in mind, anything that’s meant to kill bacteria can potentially kill the SCOBY.

While some metals are said to kill SCOBYs, I’ve found this isn’t true with stainless steel. Do NOT use any metal other than stainless steel! Nourishing Traditions says it’s even okay to store the SCOBY in stainless steel in the refrigerator, although I prefer glass. Mason jars work fine. NO PLASTIC!

My family drinks large amounts of Kombucha. At any time, I may have up to six, 2.15 gallon containers brewing—especially in the summer. ALWAYS USE A GLASS CONTAINER when fermenting! Make sure you use a container slightly larger than the amount of water called for in the recipe. If you don’t have a container large enough, and there’s a little sweet tea left, it’s okay to drink. Put some Kombucha aside for your next batch!

CAUTION: Never store in or drink Kombucha from plastic and NEVER shake it—it’s effervescent and can explode! When finished fermenting, store in refrigerator at 37°. NEVER eat or drink ANYTHING that does not taste right!!! Nourishing Traditions mentions some people may have an allergic reaction to Kombucha and advises if this happens, to use beet kvass for several weeks to detoxify before trying Kombucha again. If possible, purchase Nourishing Traditions cookbook; it’s a great book and well worth the price.

It’s a good idea to use pH strips to test if Kombucha is finished. Tasting can work, too. If it tastes sweet it’s probably not ready. Continue to test every 8 to 12 hours. When Kombucha is ready, bottle into glass bottles and tightly cap.

If you’re new to making Kombucha, you might want to purchase a starter kit like this one:

SUGAR: Organic white sugar or organic evaporated cane juice are the best sugar choices; the main job of the sugar is to feed the SCOBY. Do not use honey, rapadura, muscovado, etc. Always use organic.

FERMENTING NUMEROUS ITEMS: if you are fermenting numerous, different items like yogurt, kefir, sauerkraut, etc., make certain to keep several feet between them as the cultures can contaminate each other!

For more information about fermenting and Kombucha’s nutrients, go to this informative article by Sally Fallon Morell, the founding president of Weston A. Price Foundation, founder of A Campaign for Real Milk, and author (with Mary G. Enig. Ph.D.) of my favorite cookbook— Nourishing Traditions. http://www.westonaprice.org/health-topics/kvass-and-kombucha-gifts-from-russia

Click here for Kombucha Recipe


Share

Filed Under: Articles, Beverages, Blog Tagged With: how do I make kombuha?, how to ferment kombucha, how to store kombucha, kombucha do and don't, kombucha ph strips, learn about kombucha, new to kombucha, what kind of sugar do I use for kombucha?

Next Page »

Primary Sidebar

Search

Fullscript

You'll automatically receive 20% off your account at my Fullscript Dispensary.

My Metabolic Meals are: 100% Gluten-free, and contain no: artificial flavors or dyes, MSG, soy, wheat, rye, barley, malt, or triticale, Brewer’s yeast, low-grade proteins, processed vegetable oils.

Follow me on:

Please be advised:

Statements on this website have not been evaluated by the FDA and are NOT intended to diagnose, prescribe, treat, prevent or cure any disease, condition, illness, or injury. Please do not use any information on this website in place of a doctor. Please consult a doctor before making ANY dietary changes. This website is presented for entertainment purposes only.

AFFILIATE DISCLOSURE:

AFFILIATE DISCLOSURE: Throughout this website, you will find affiliate links. Any links you follow may or may not provide remuneration to help me support this website. Please note that any reviews will be honest reviews regardless of monetary compensation. Make Healthier Choices is a participant in the Amazon Services LLC Associates Program, an affiliate advertising program designed to provide a means for sites to earn advertising fees by advertising and linking to Amazon.com.

My Favorite Kitchen Appliance

I use this air fryer every day. I can not only air fry, I can bake, toast, defrost and much, much more.

Archives

  • May 2025
  • March 2025
  • January 2025
  • December 2022
  • October 2022
  • August 2022
  • March 2022
  • September 2021
  • May 2021
  • November 2020
  • January 2020
  • January 2018
  • March 2017
  • February 2017
  • August 2016
  • May 2016
  • April 2016
  • March 2016
  • February 2016
  • January 2016
  • December 2015
  • November 2015
  • October 2015
  • September 2015
  • August 2015
  • July 2015
  • June 2015
  • May 2015
  • Welcome
  • Recipes
  • About Lynn
  • Ingredients & Substitutions
  • Affiliate Disclosure
  • Articles

Copyright © 2025 · Make Healthier Choices · Log in